OnePlus 5 ART
Upcycling My OnePlus 5
01.
THE WHY
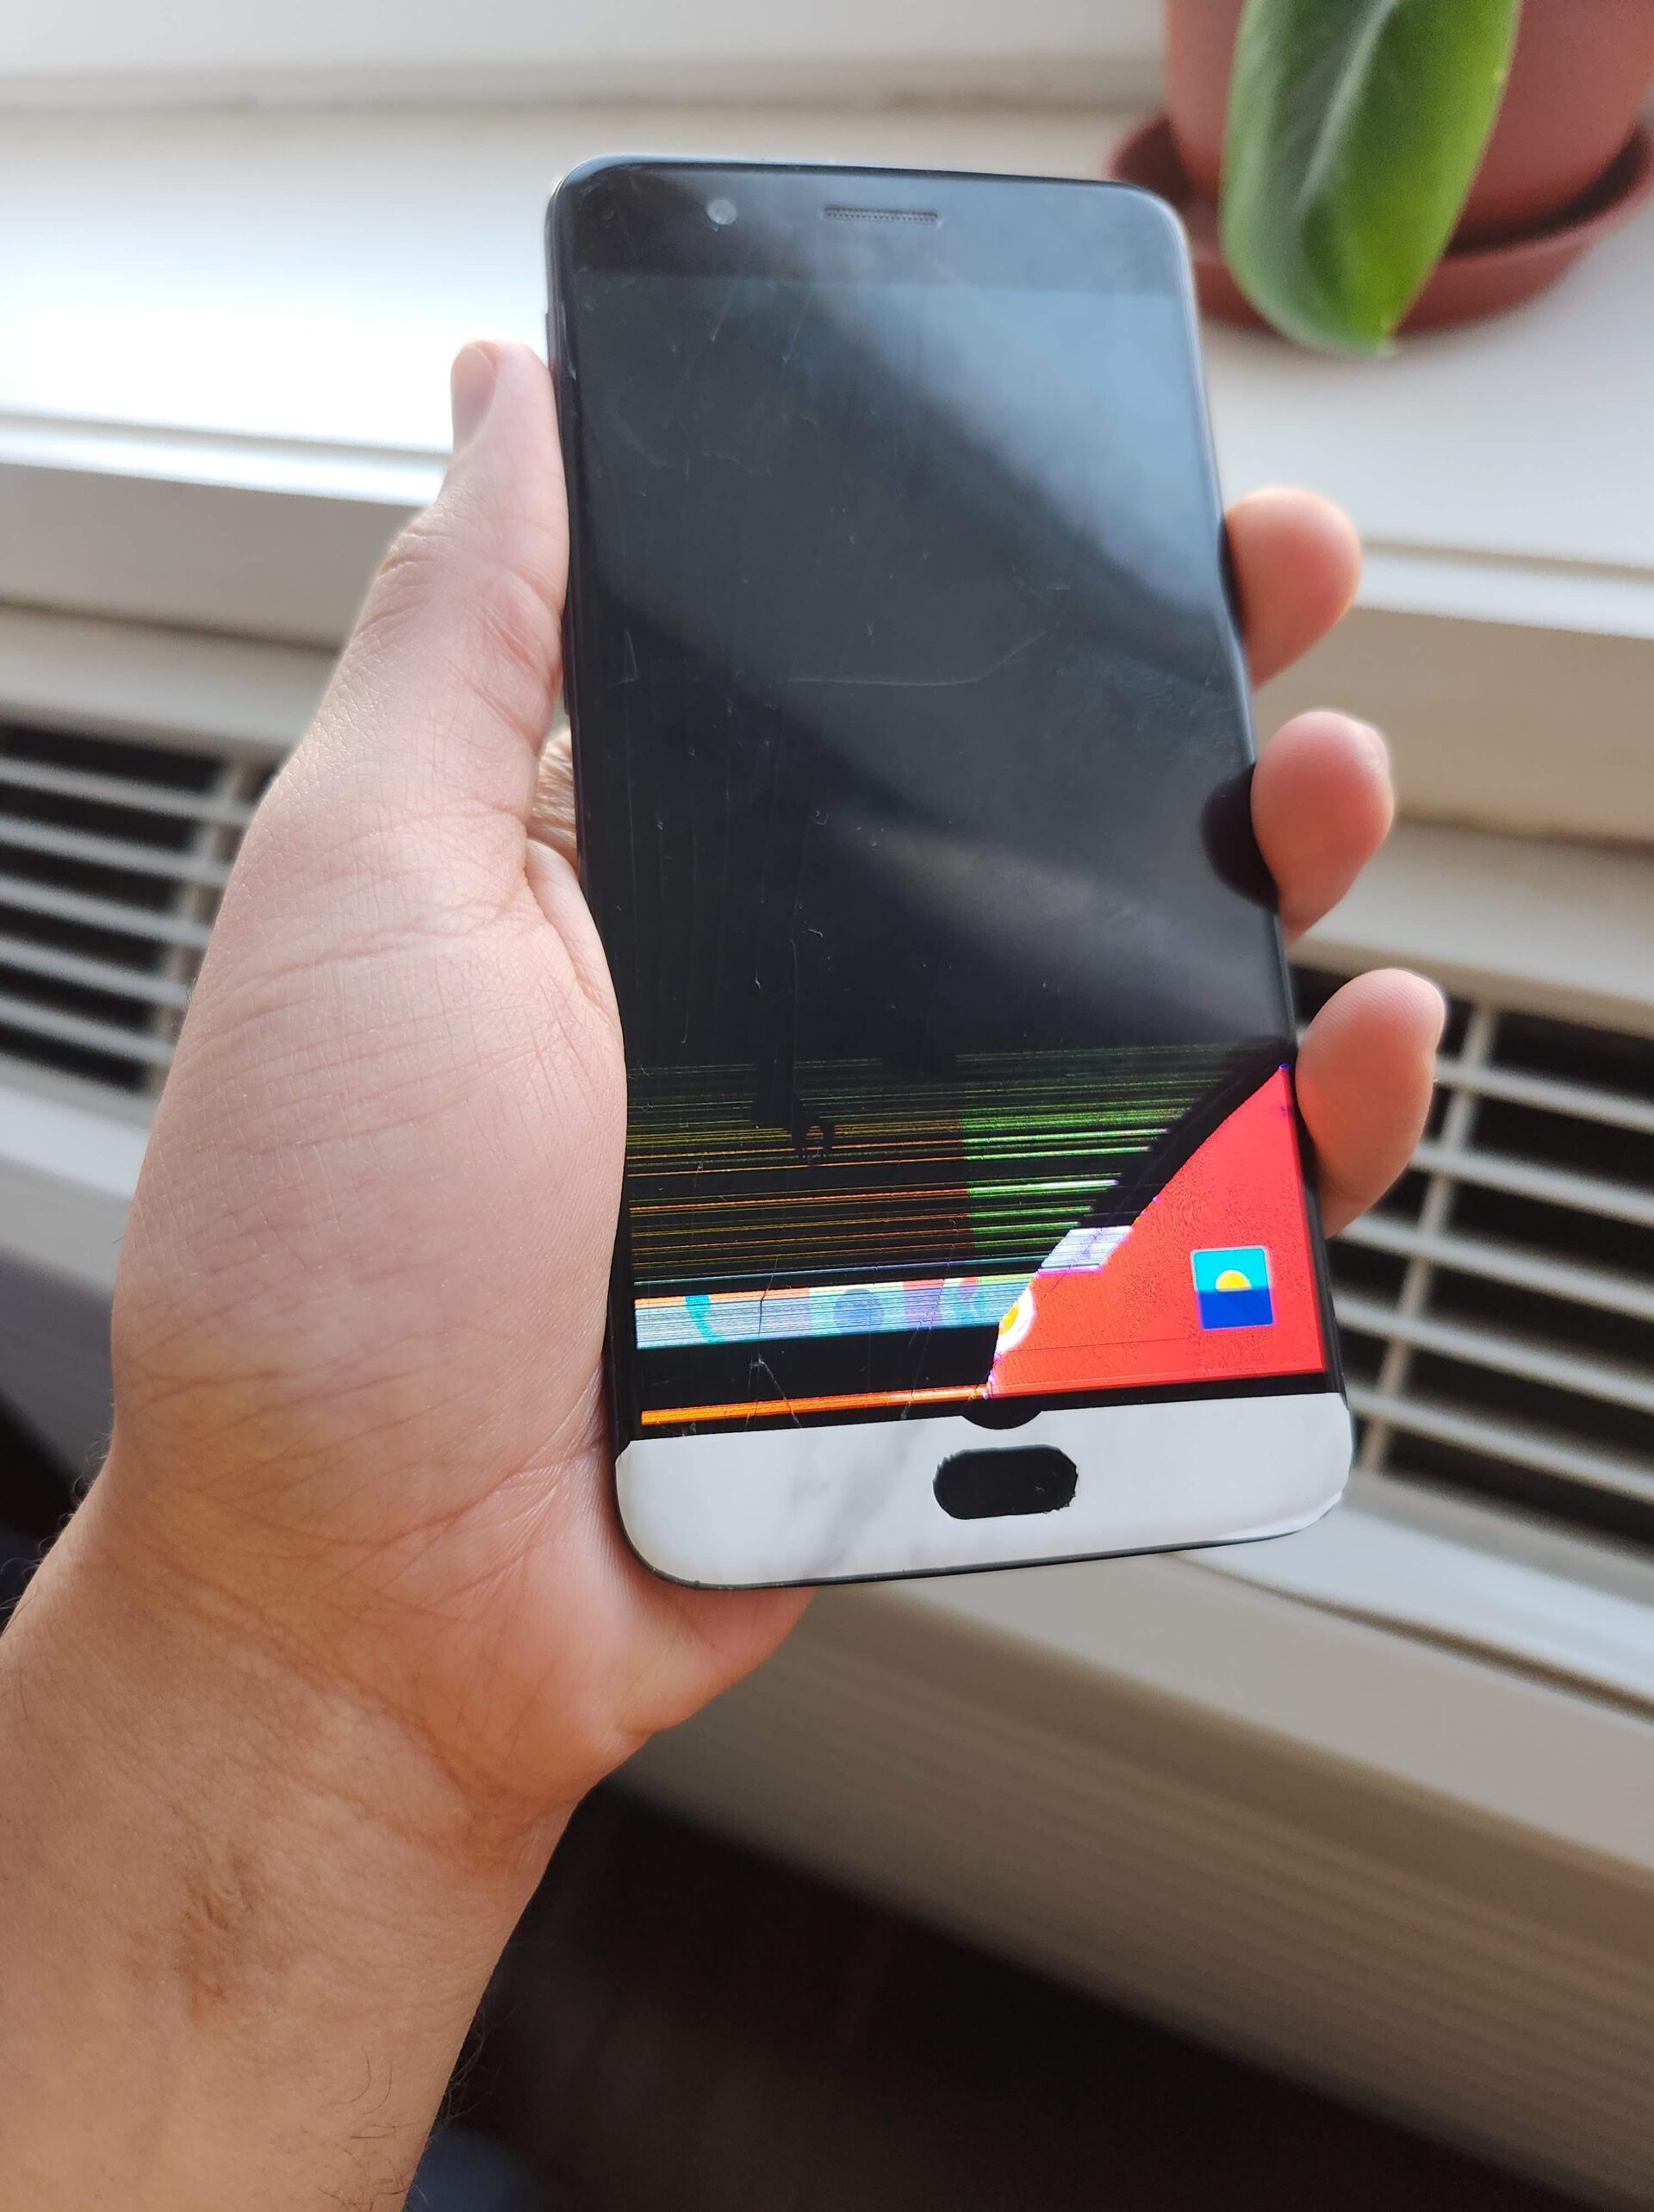
My OnePlus 5 finally gave up after 6 years of use, two of which it had a cracked screen already from a 2-meter fall (that’s 6.5616 ft for my fellow Americans).
I replaced my dear phone years ago and was using it only for certain apps and as a quick webcam for video calls and online meetings.
So, it didn’t make sense to buy a new screen and spend hours replacing it while an actual webcam is cheaper, and selling the phone isn’t worth the hassle of it all since the price on the used market is the same as the new screen. So why not upcycle the phone and make it into a piece of art to remember forever? This is why; Upcycled ART!
02.
THE HOW
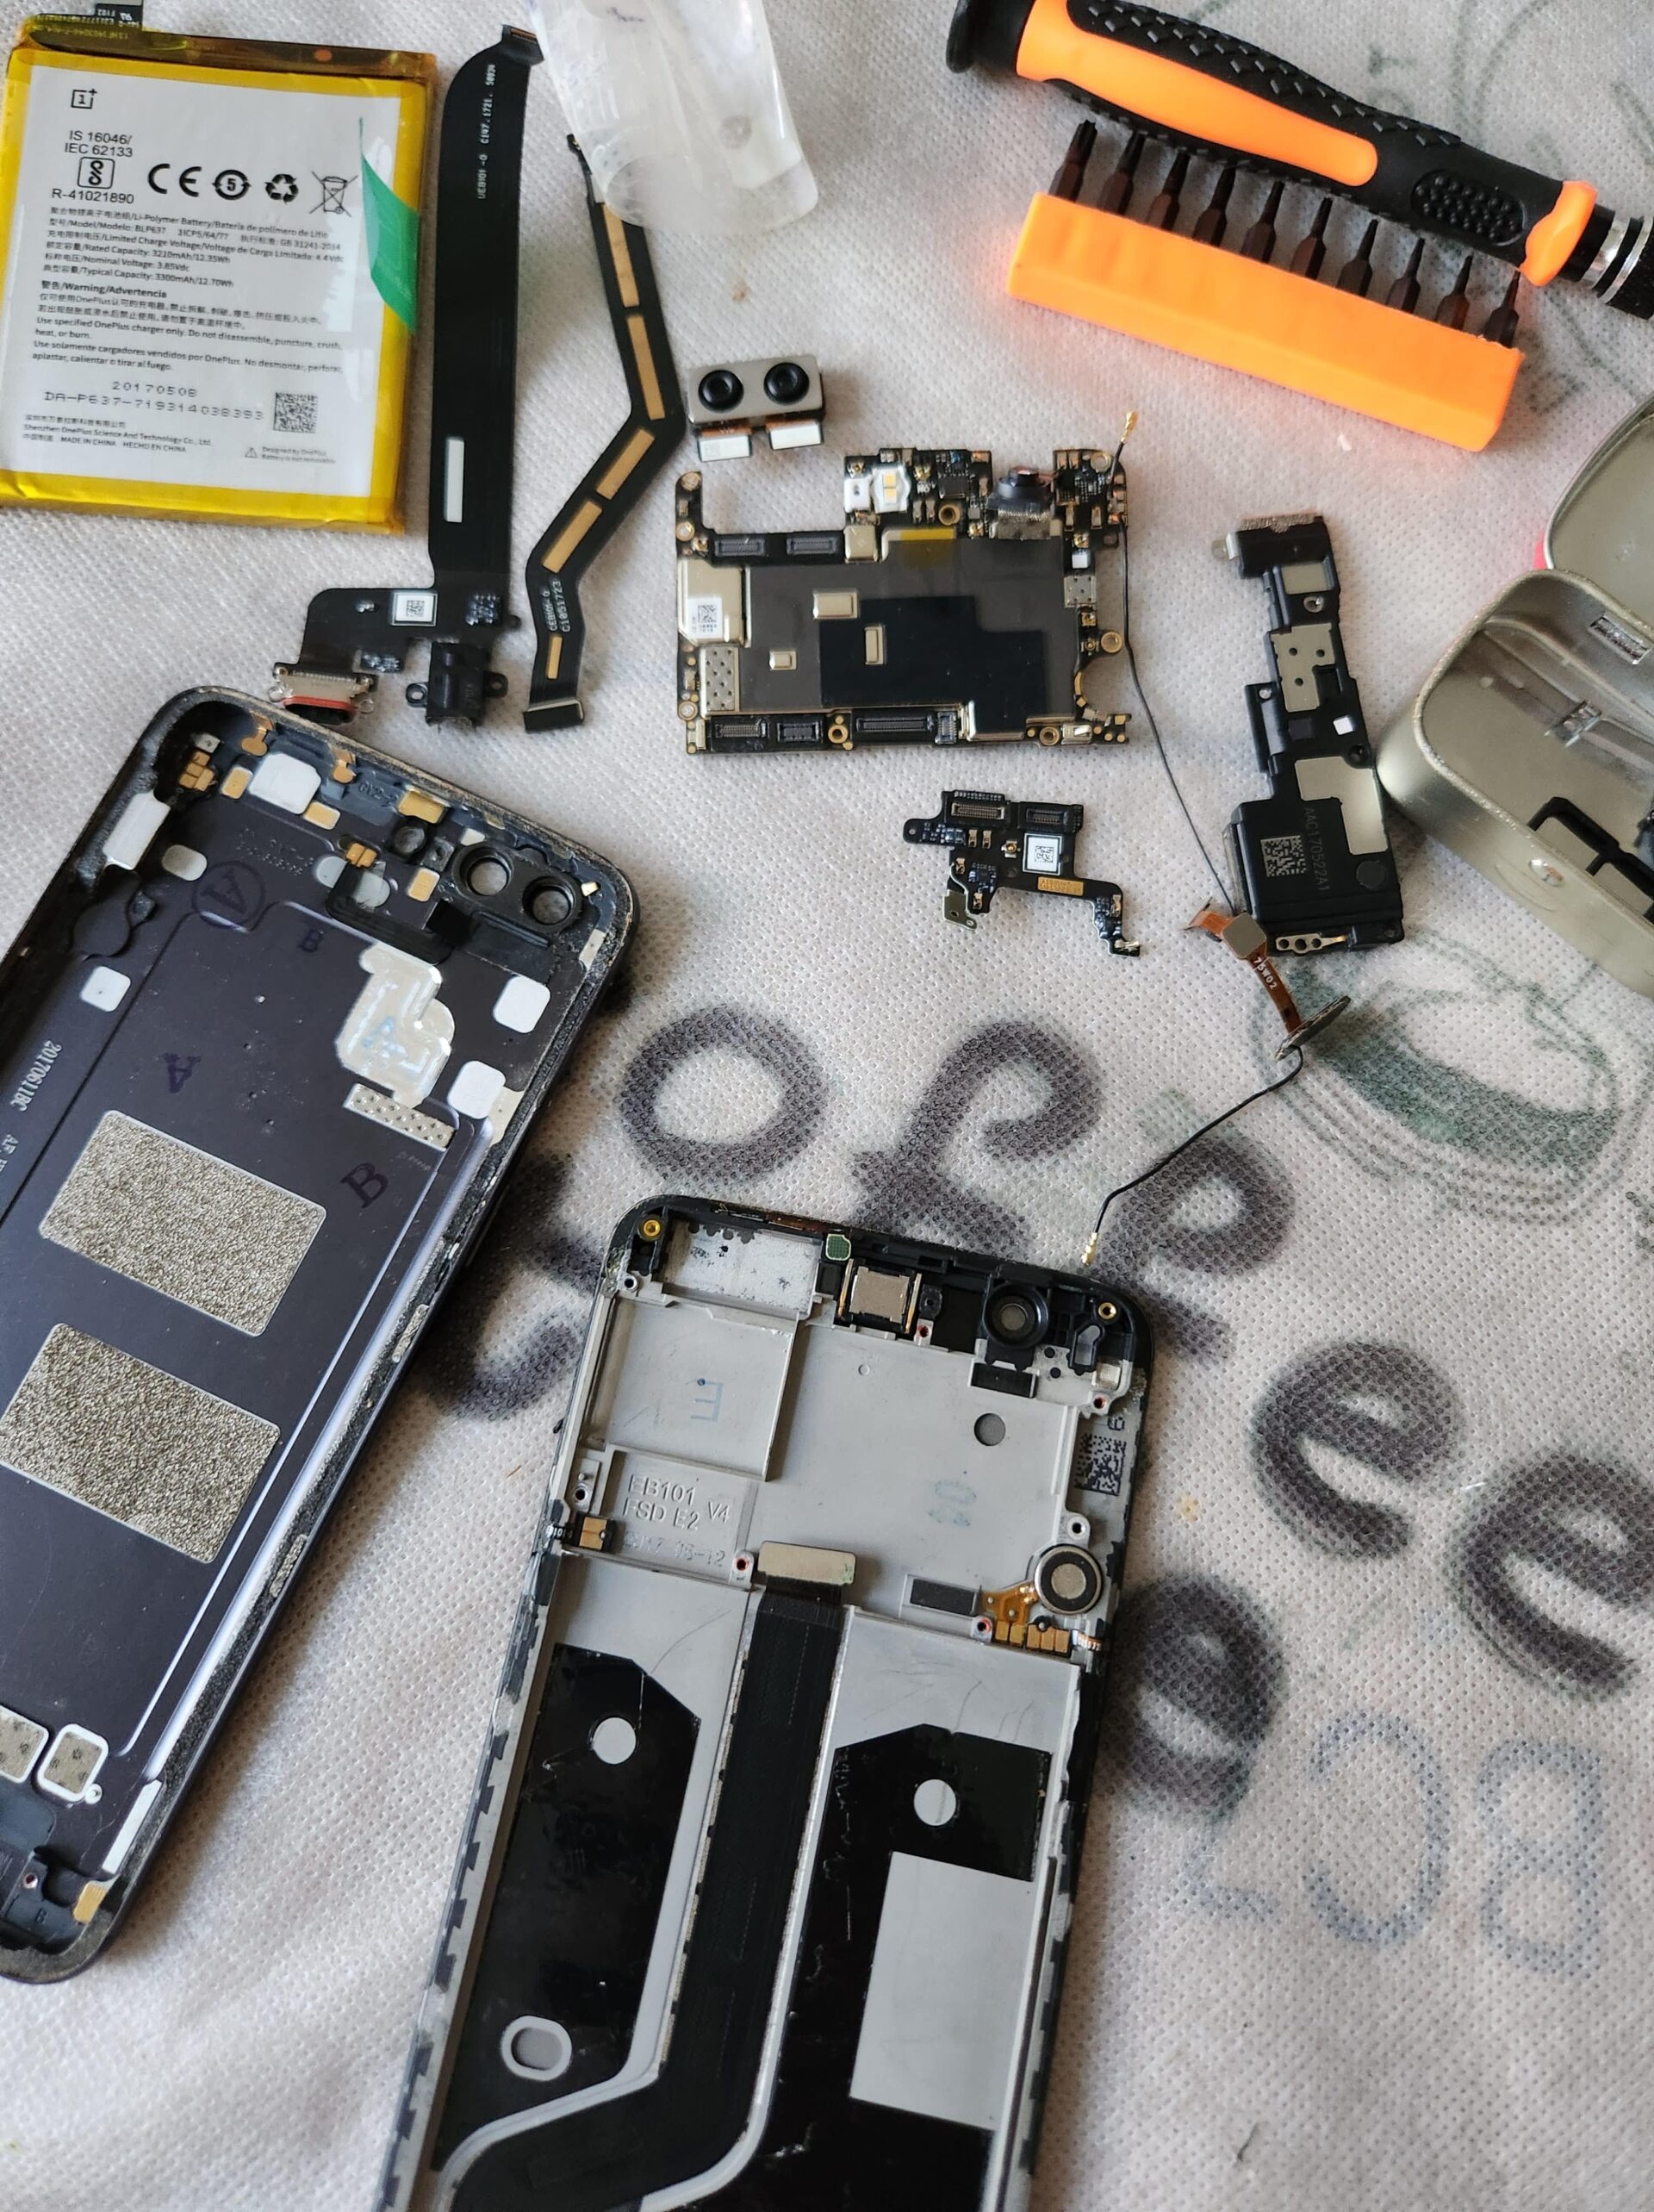
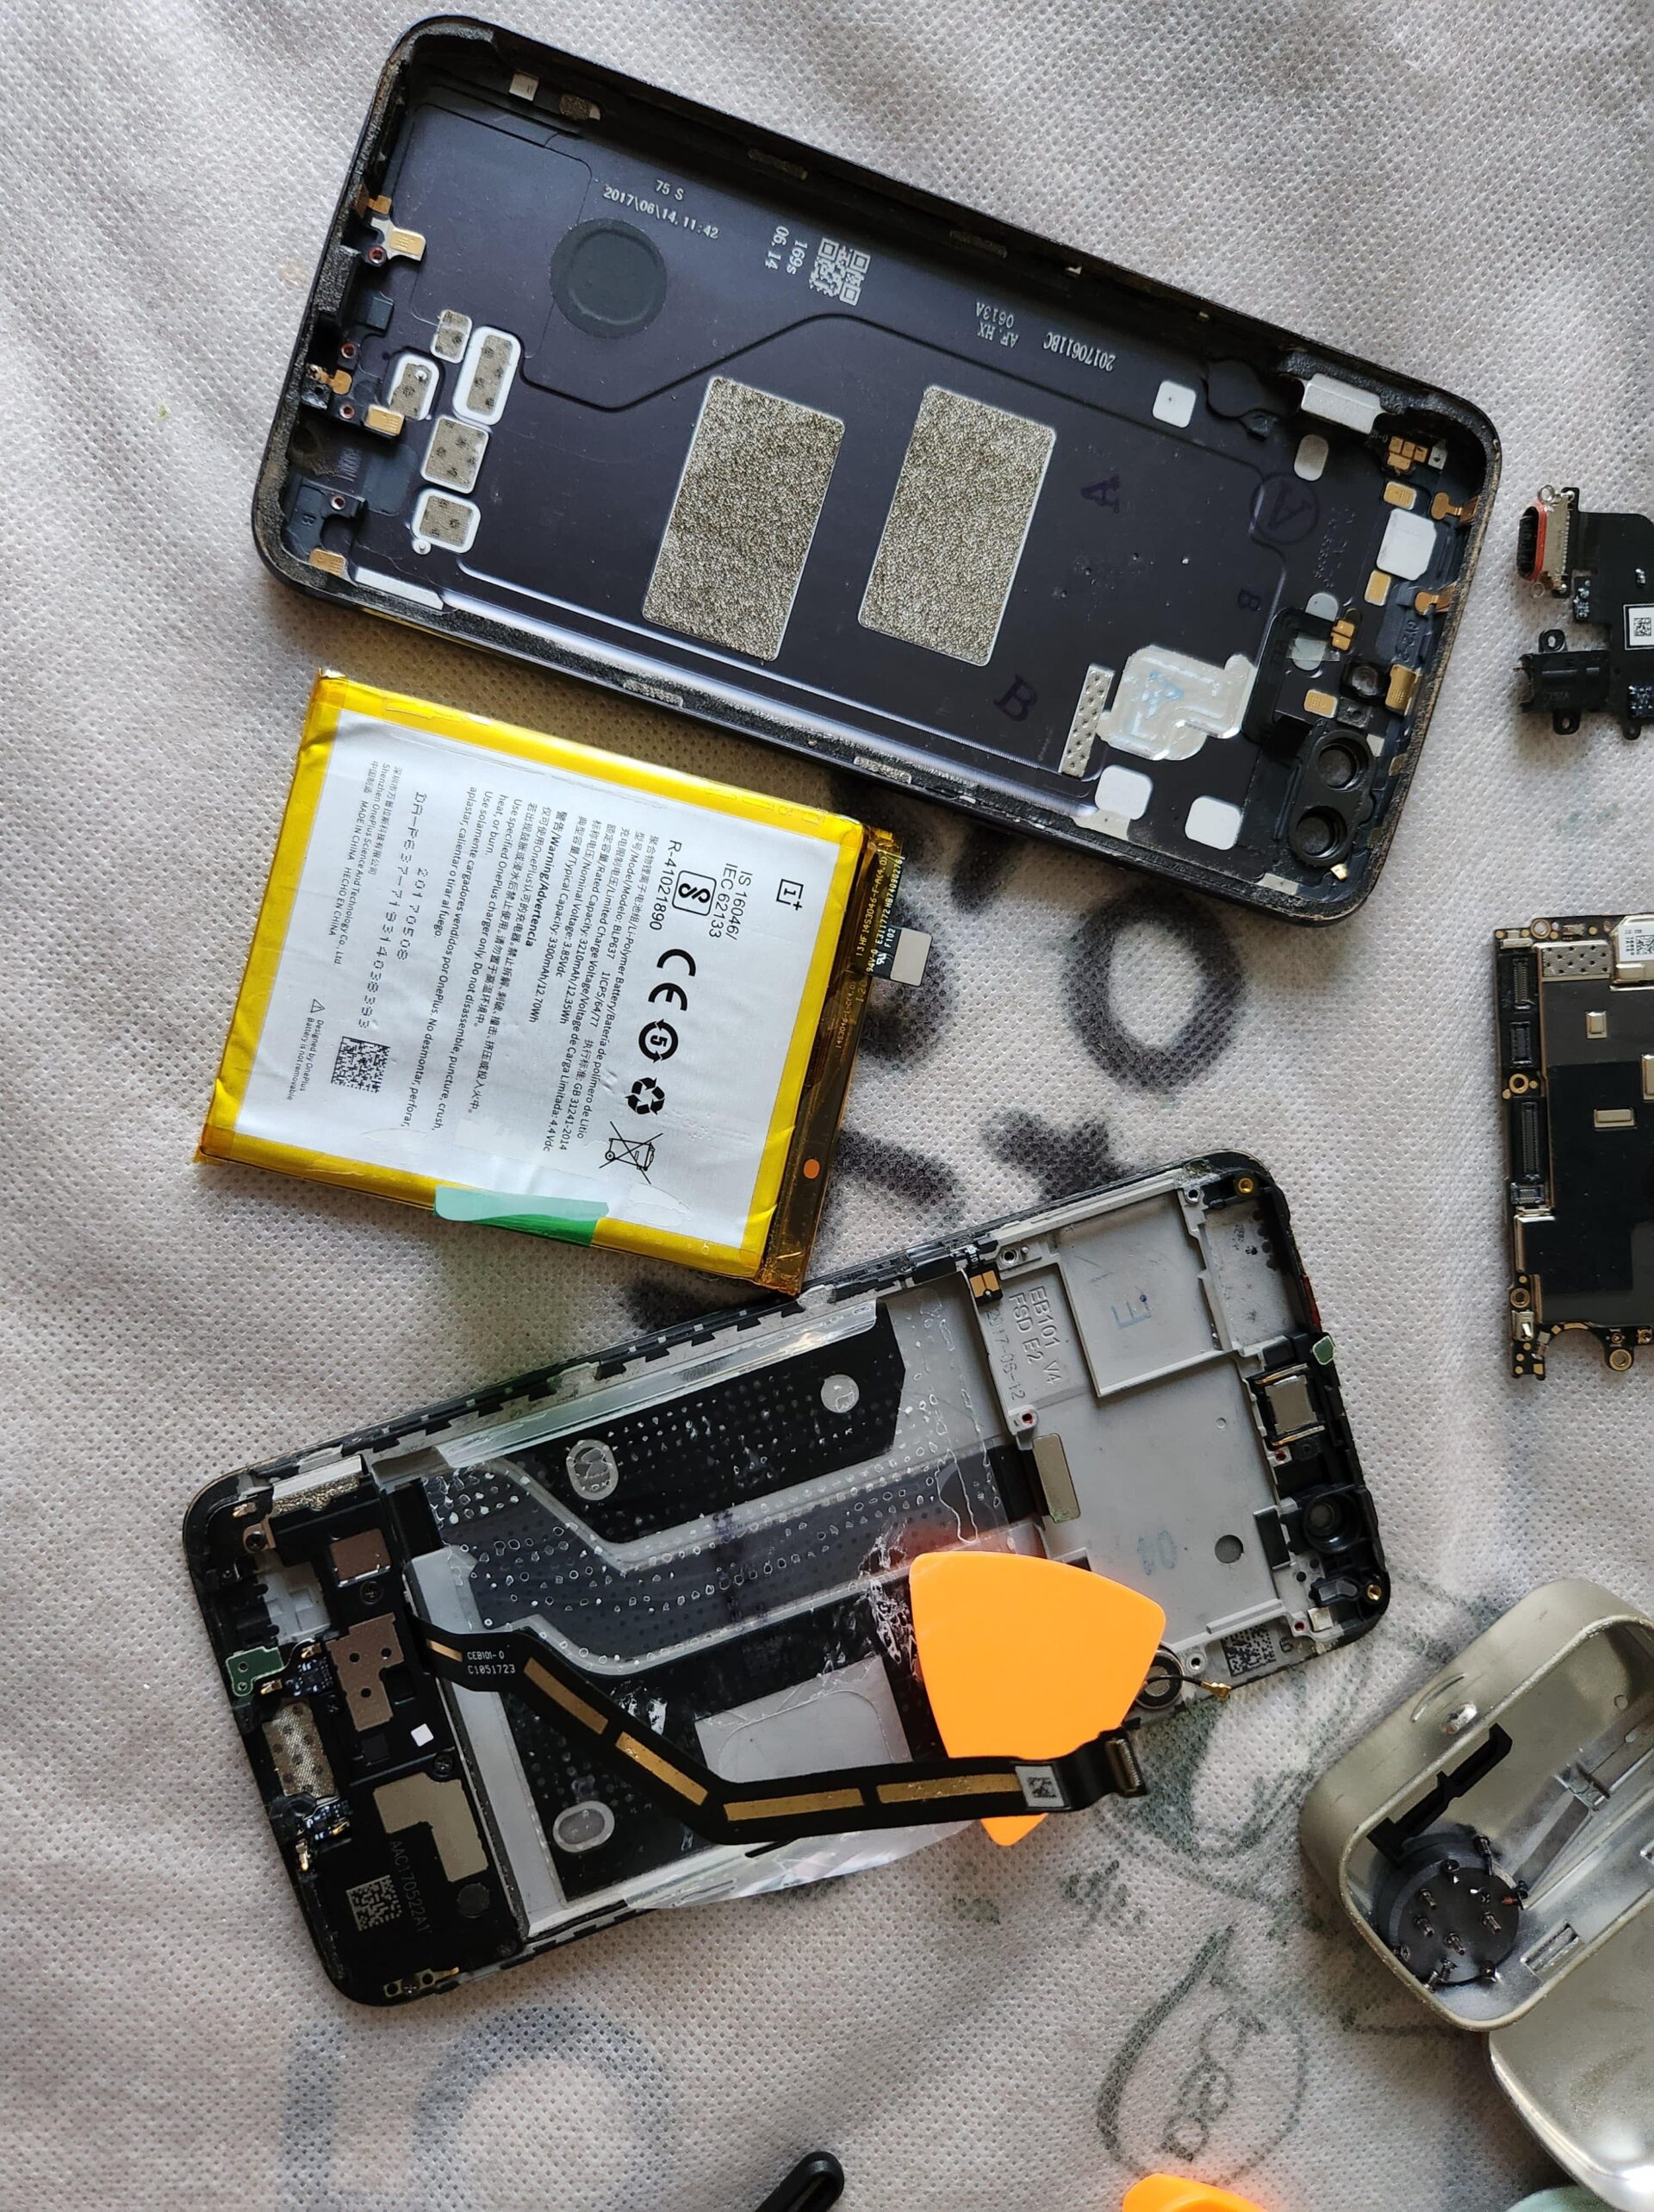
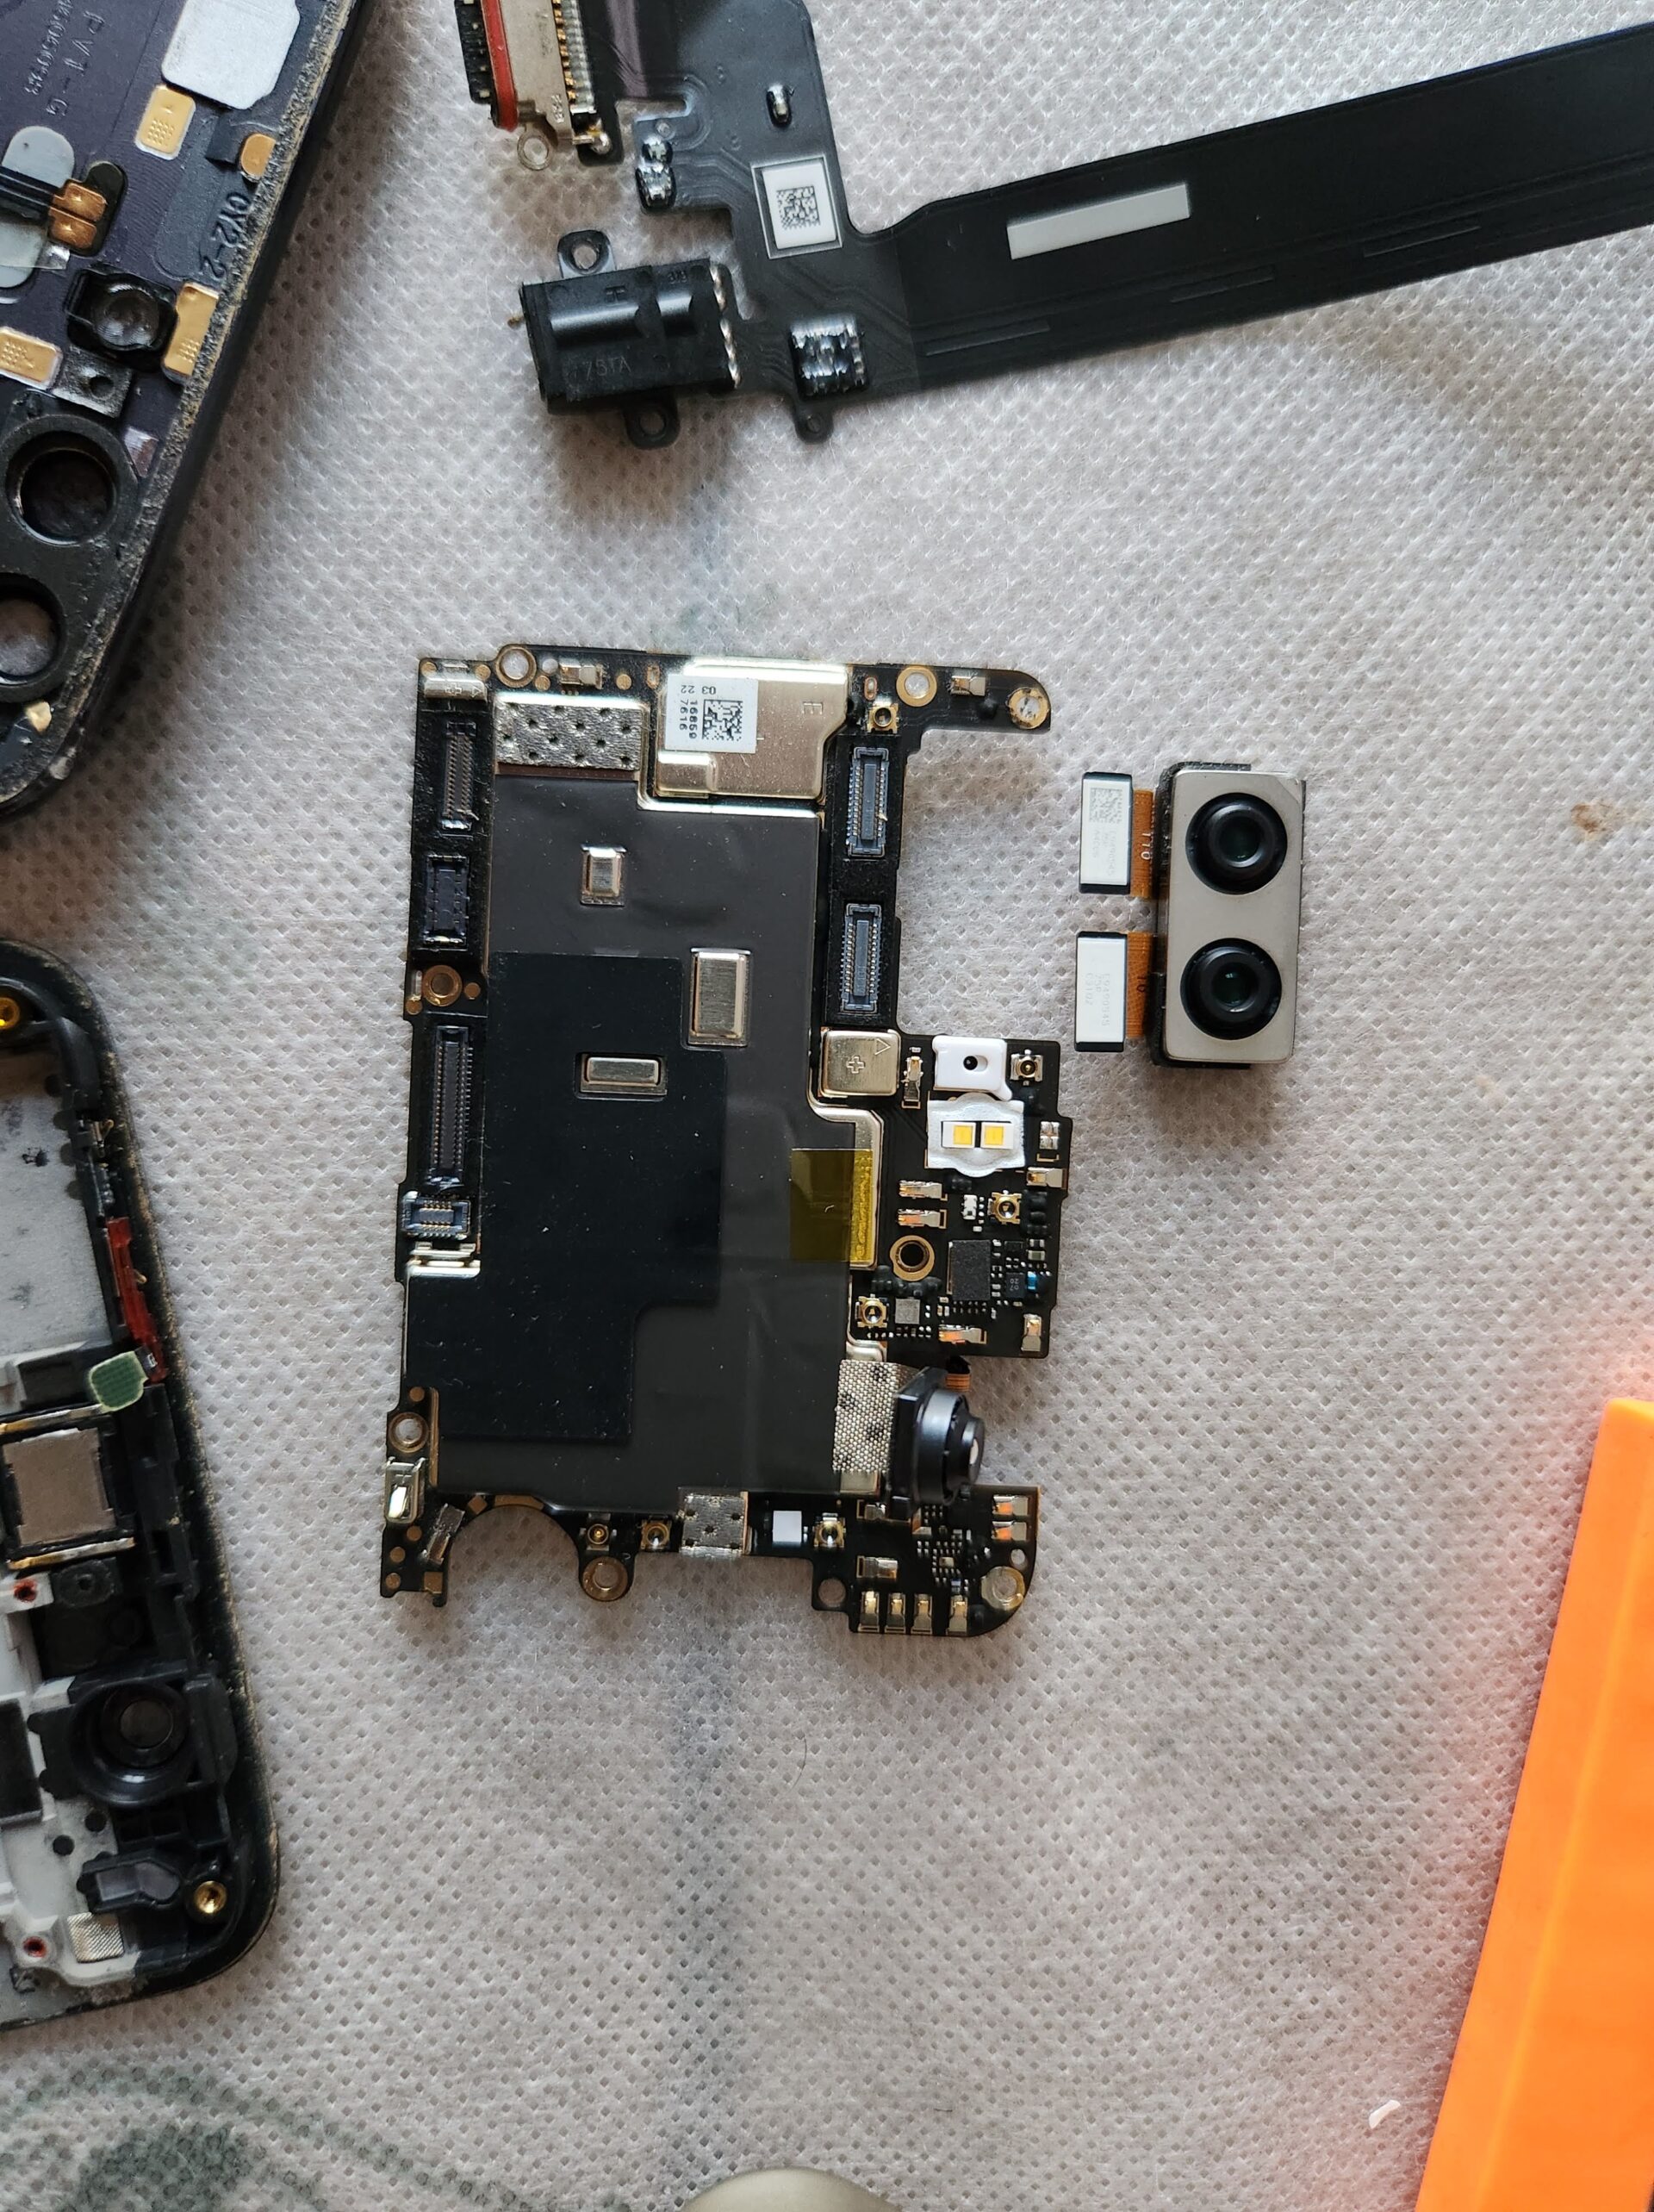
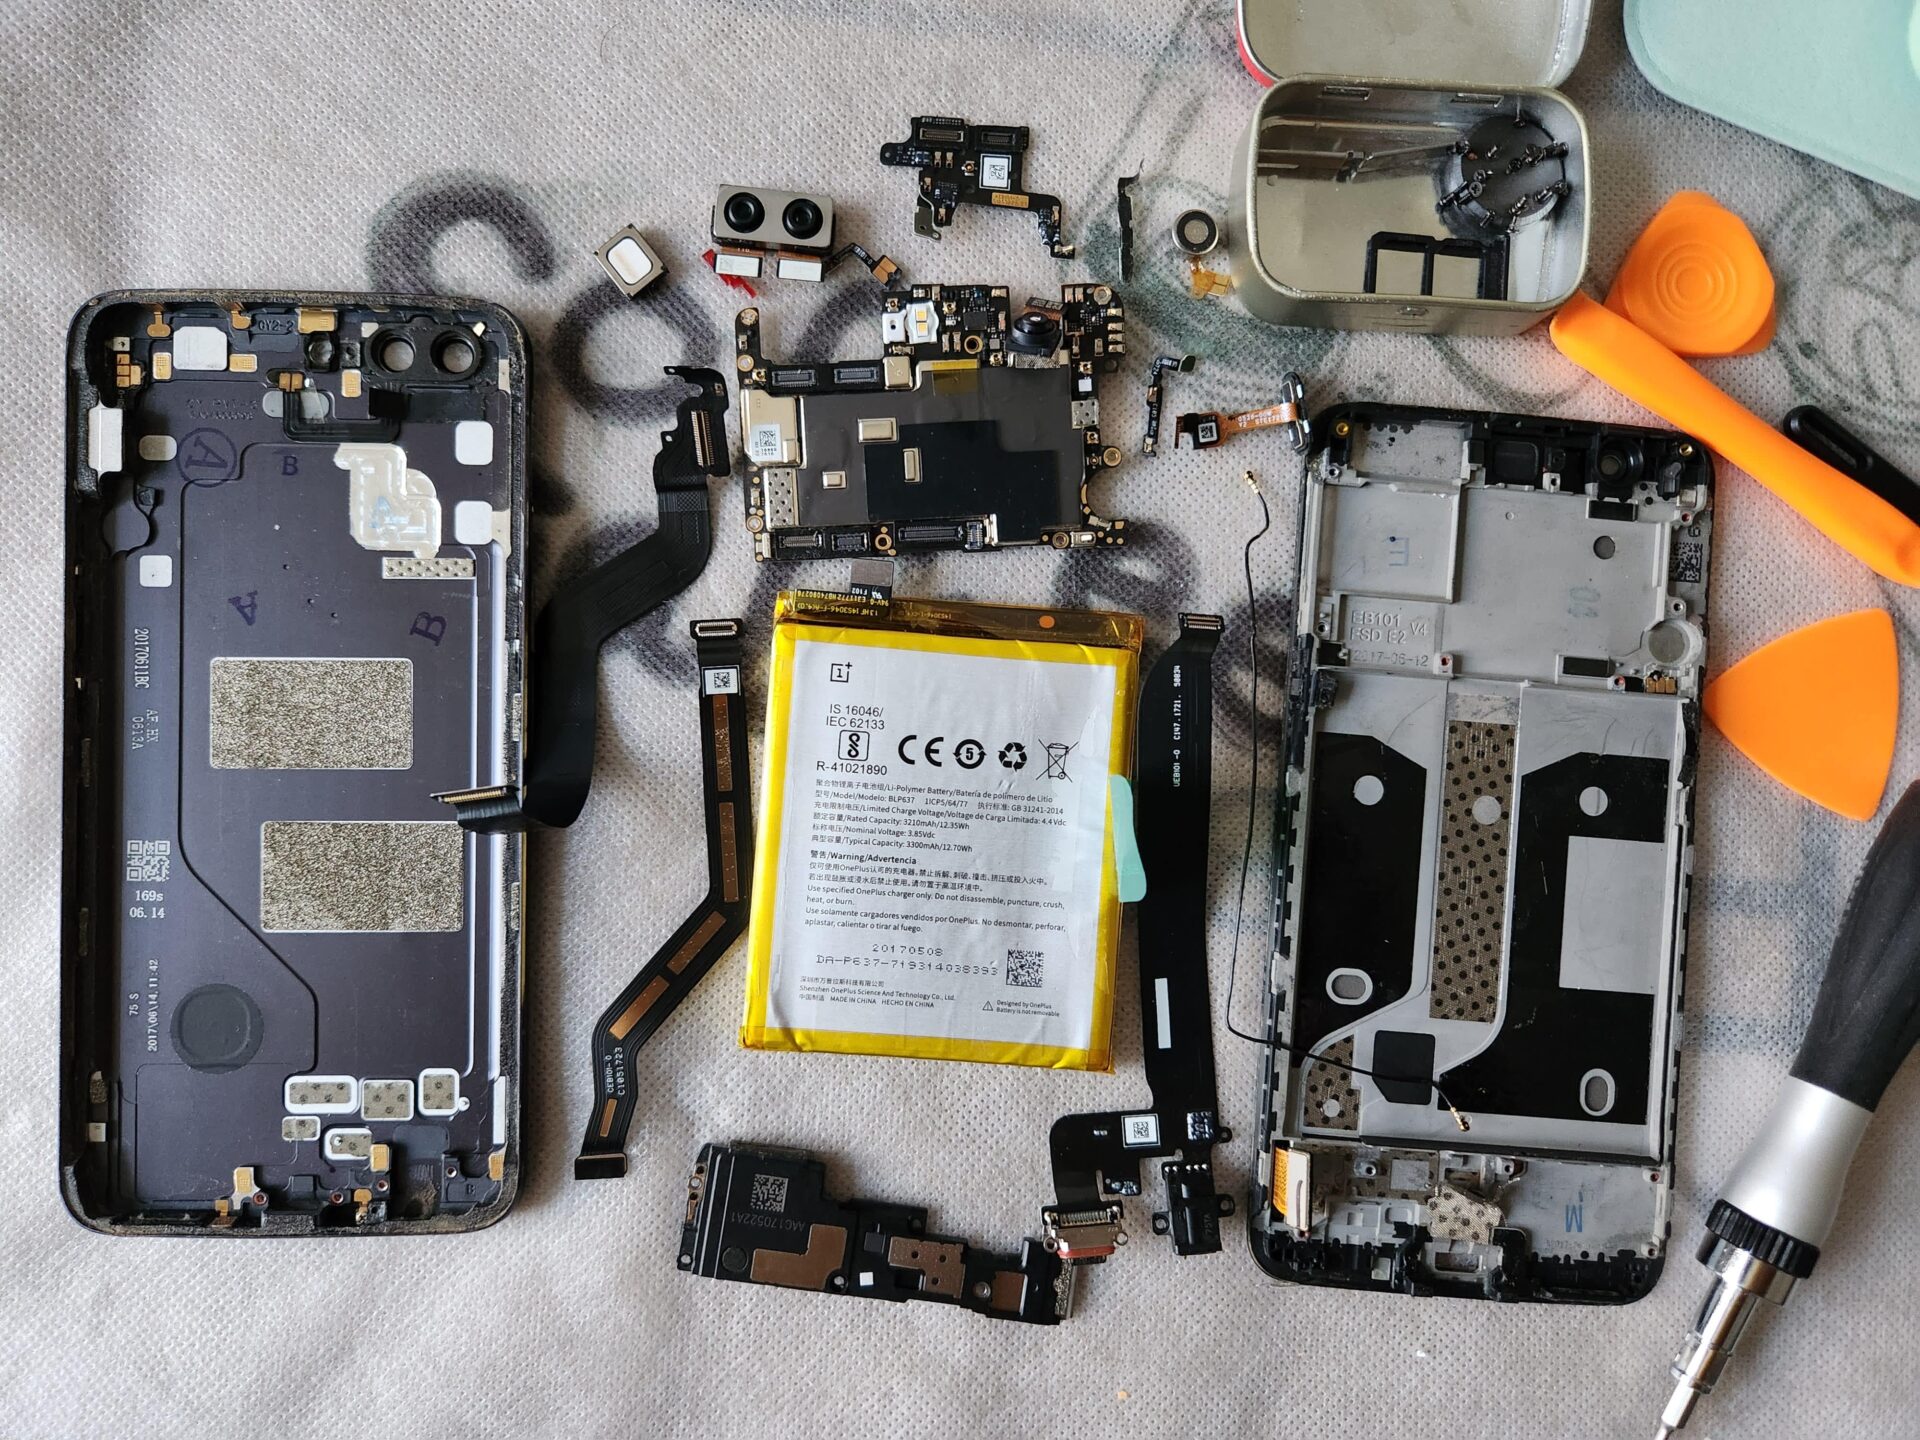
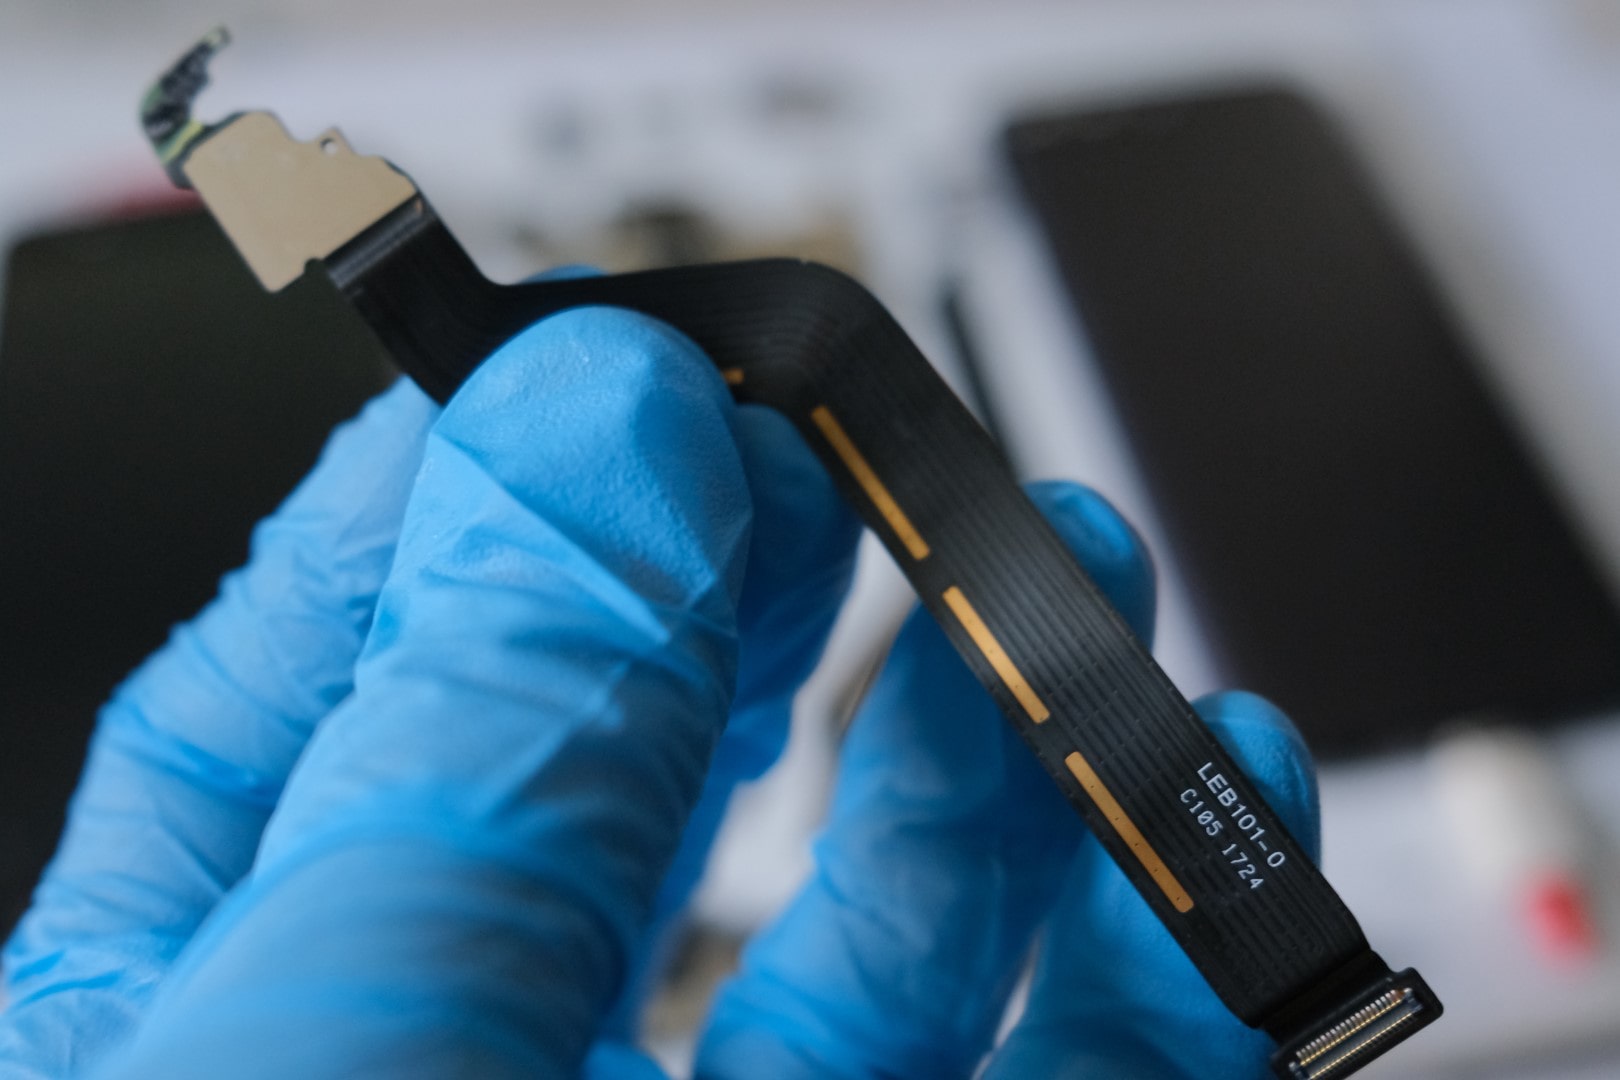
Disassembly: I used JerryRigEverything’s OnePlus 5 Teardown video and iFixit’s guide to disassemble the phone, so check’m out for an in-depth guide.
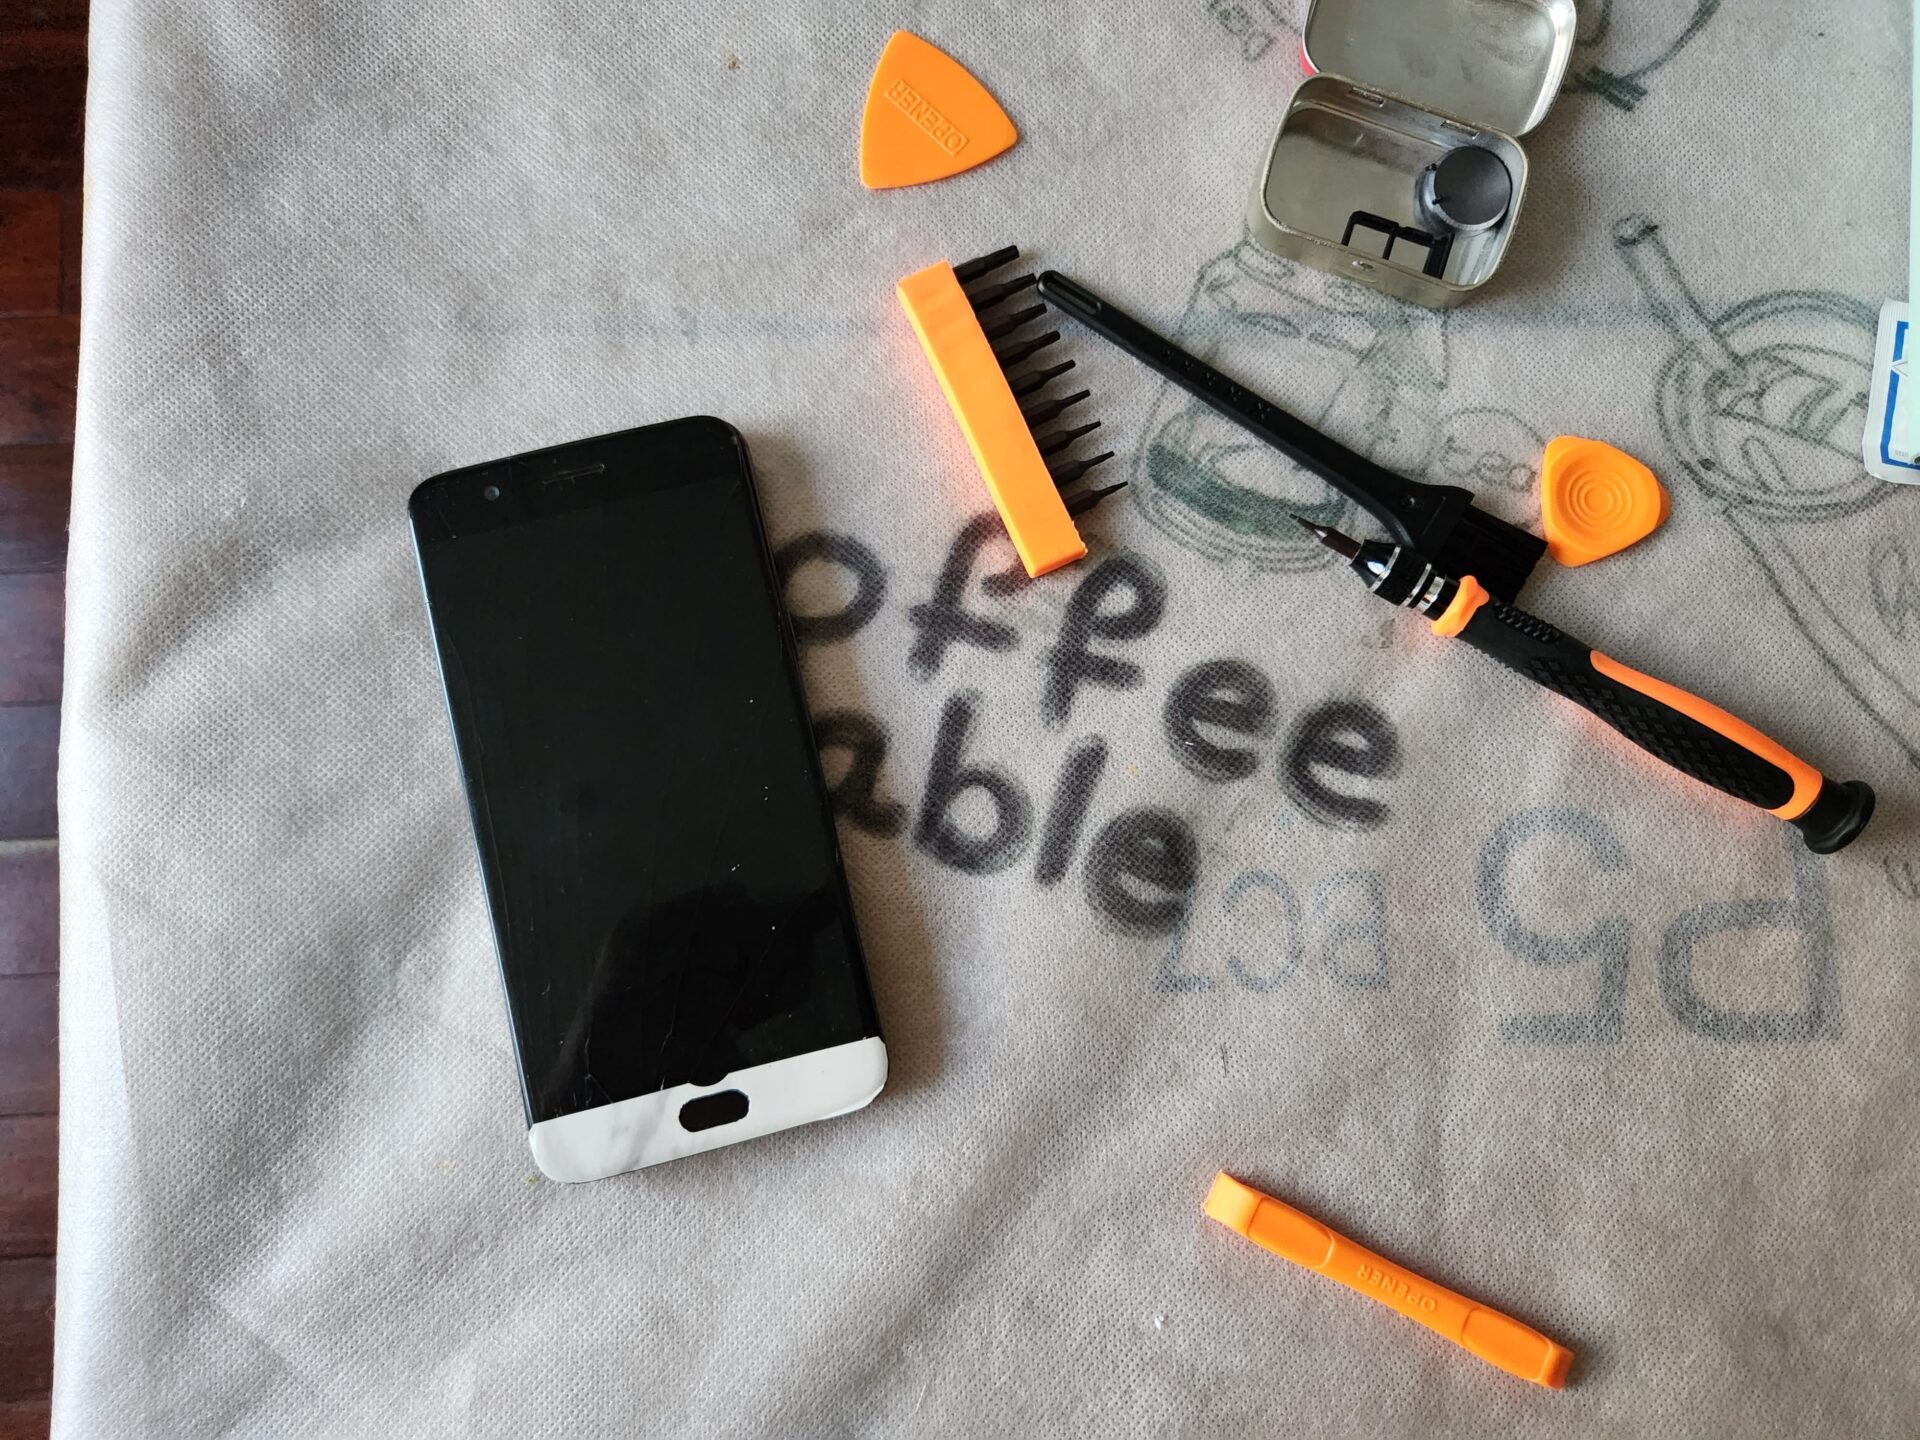
Tools: I used a generic Phillips #00 screwdriver, the Torx Screwdriver Set for the T2 Torx screwdriver & the rest of the tools needed (see iFixit guide for more info).
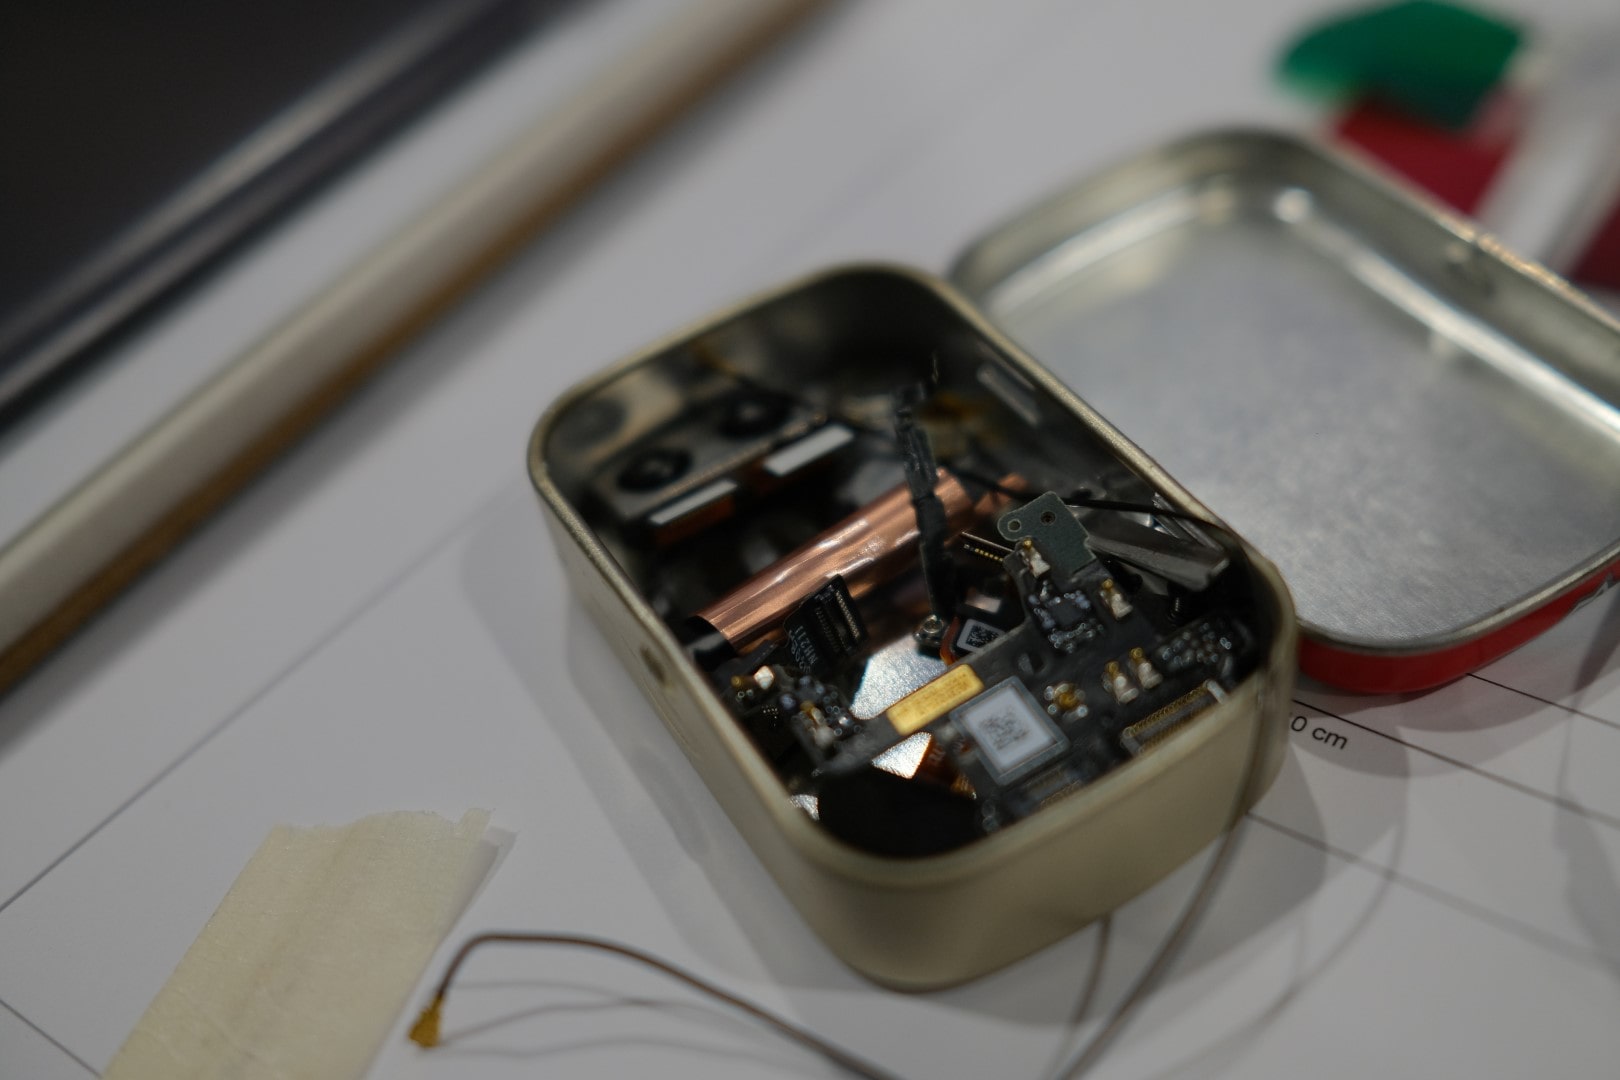
Clean all the parts (especially the screen), and place them inside a bag or box.
03.
PRINT ONCE
MEASURE TWICE
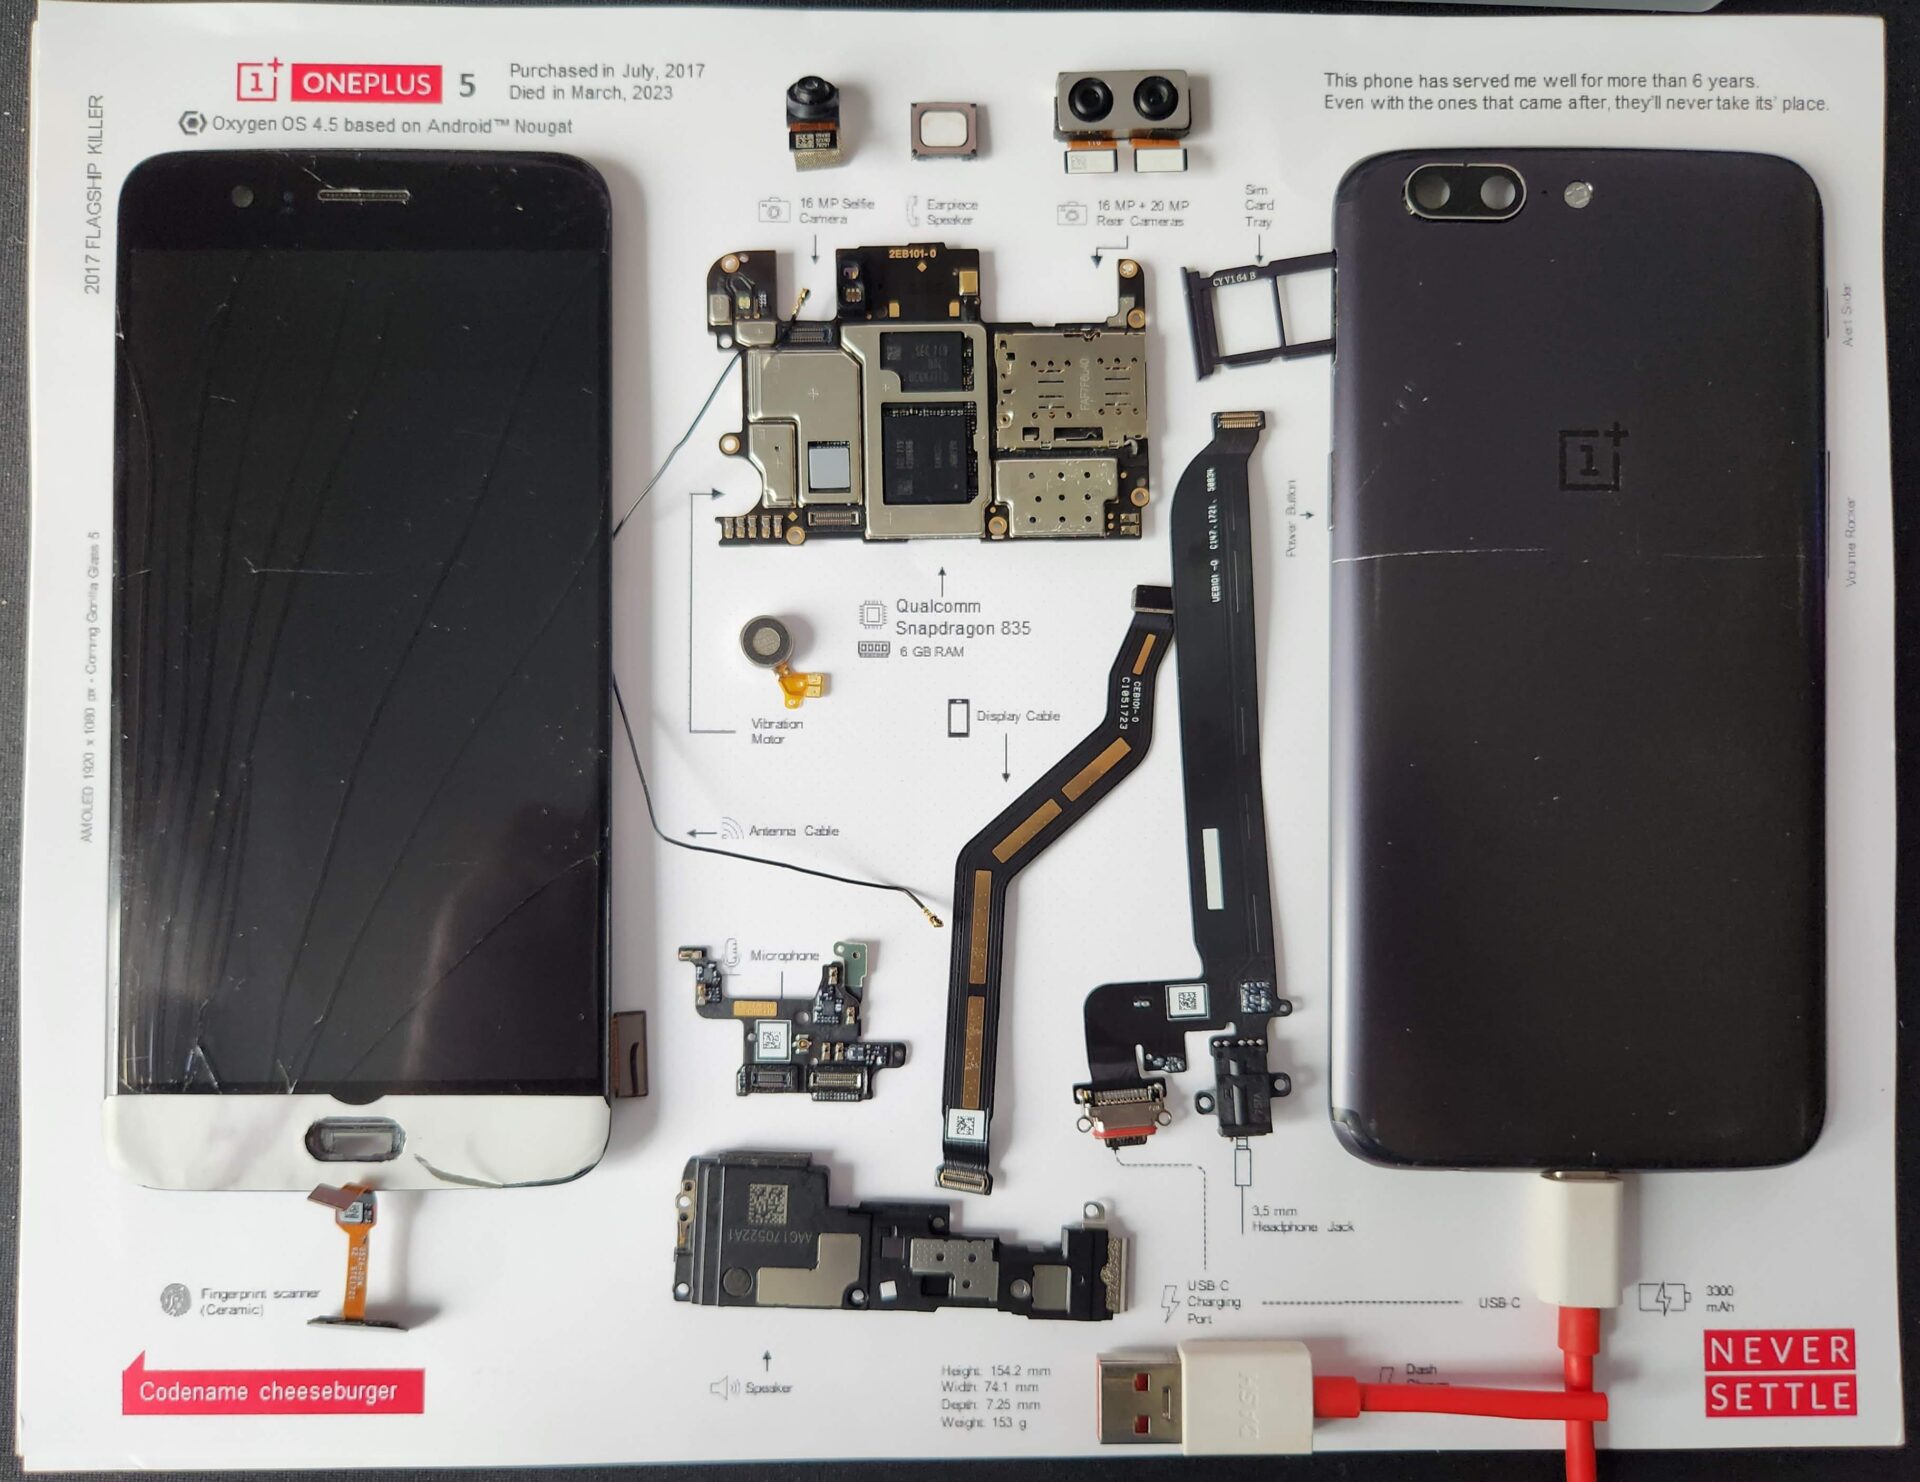
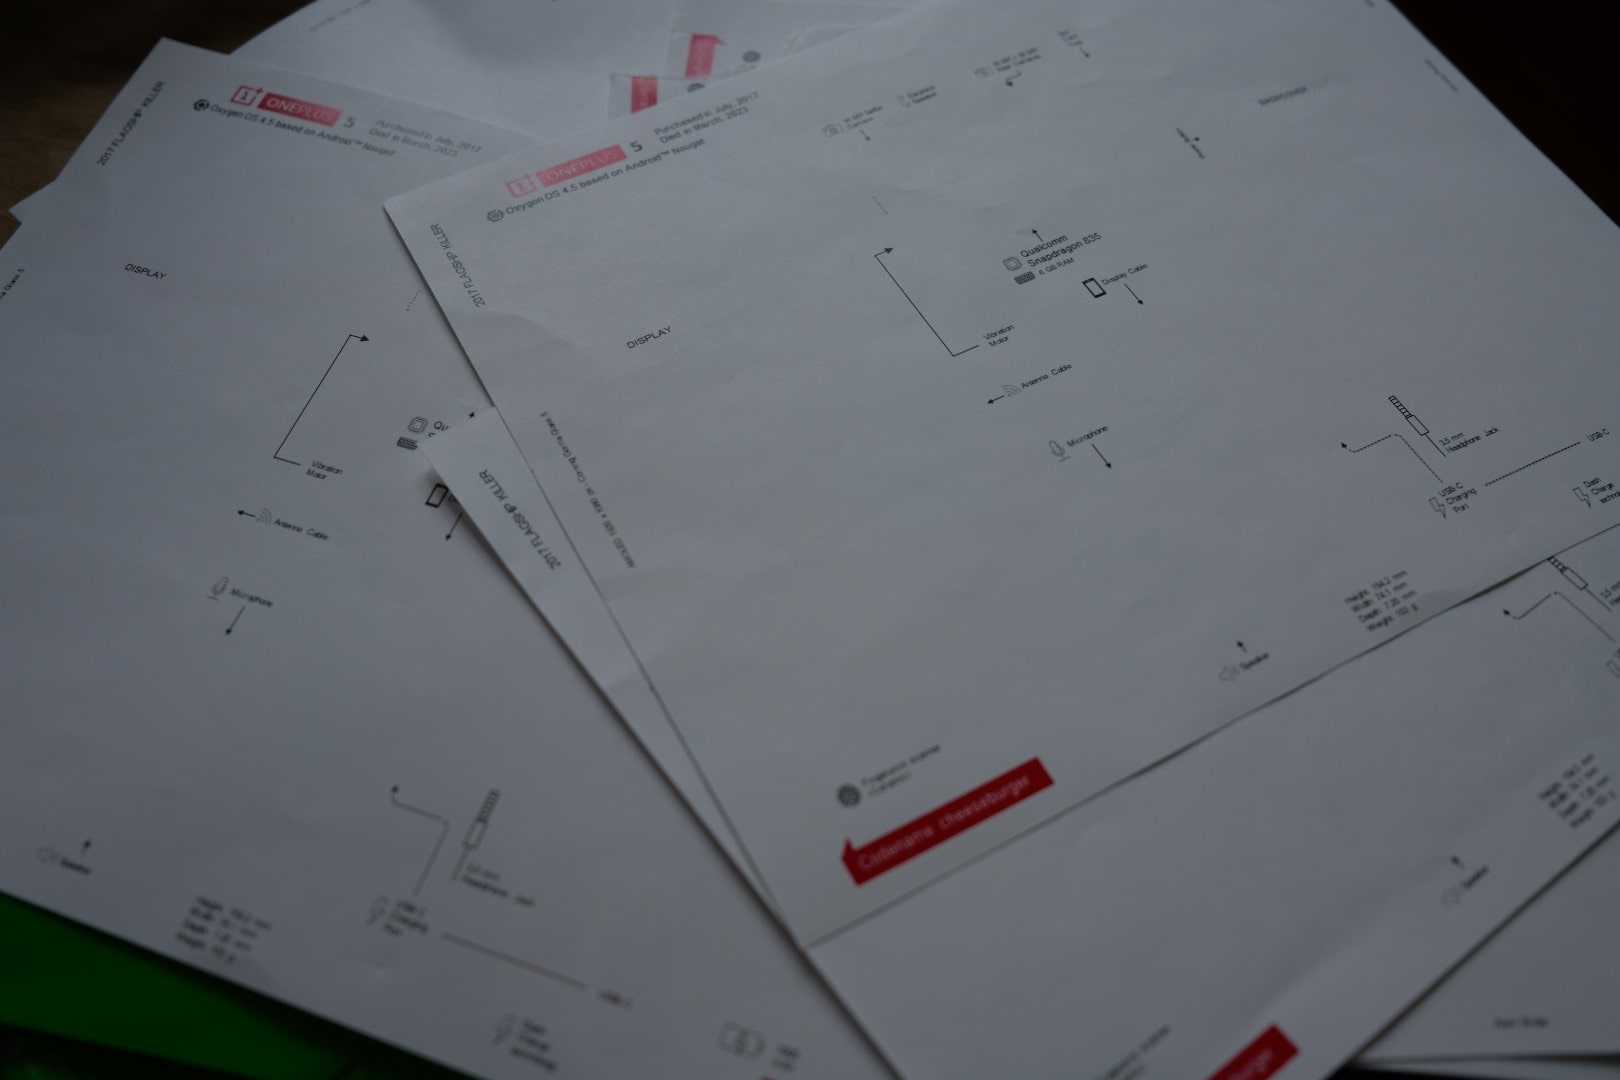
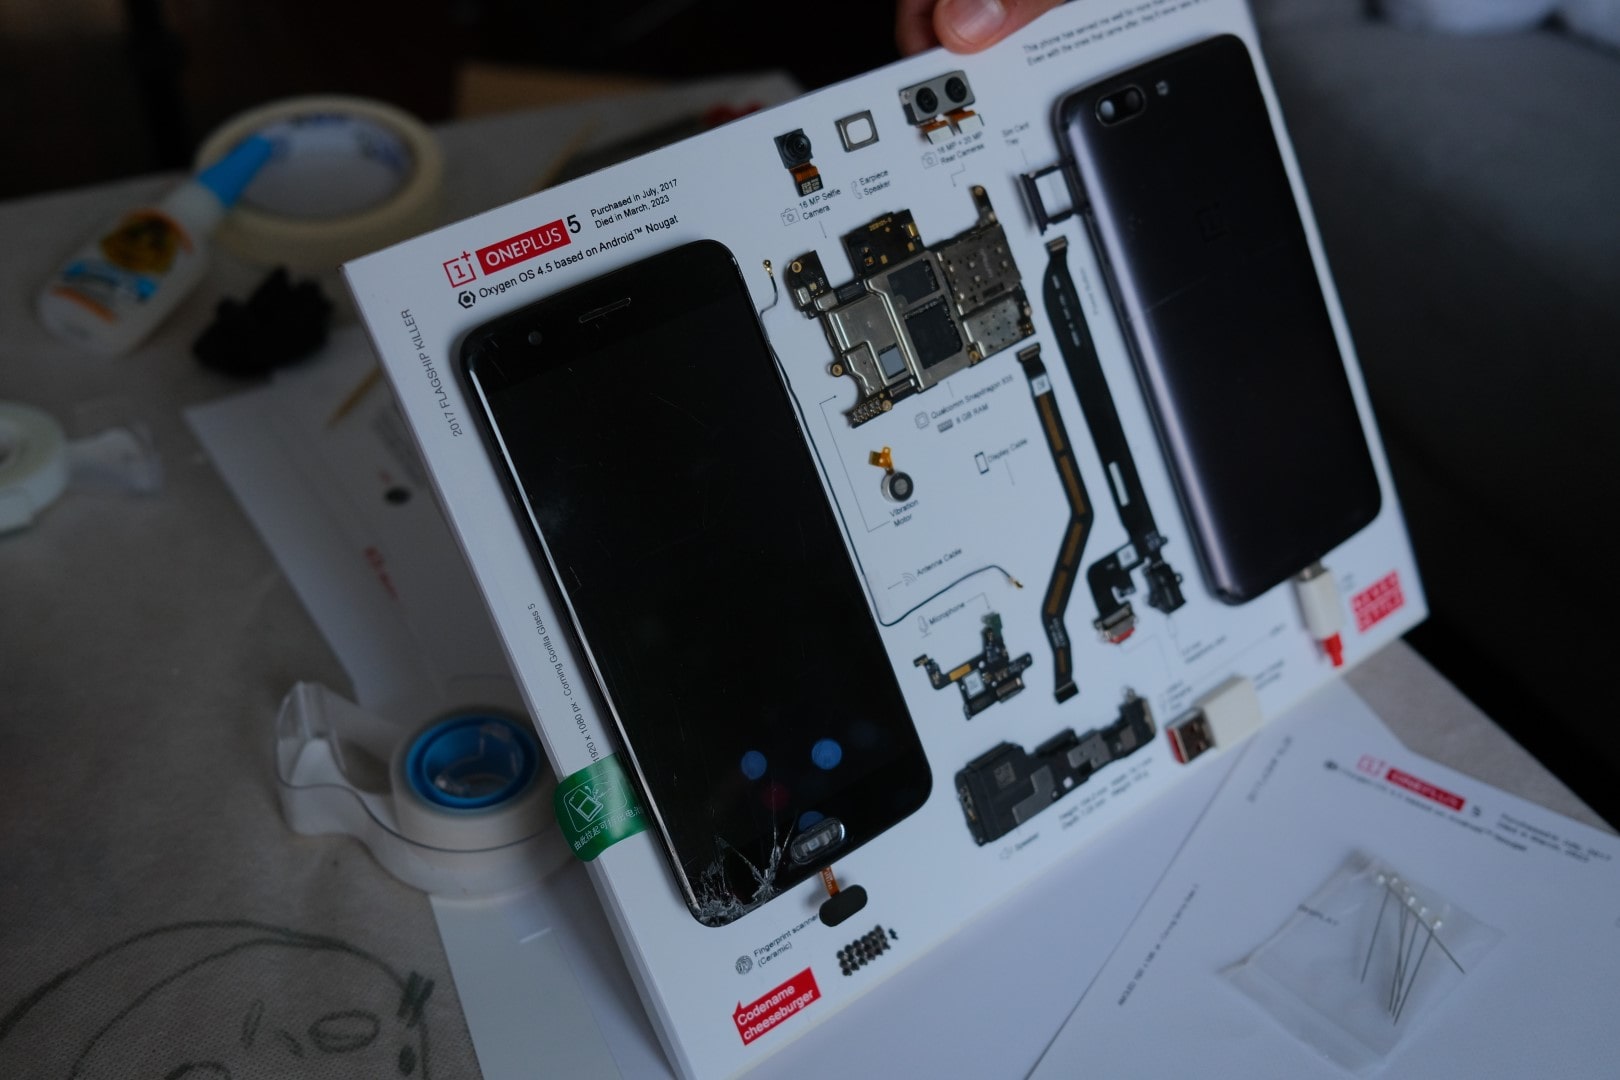
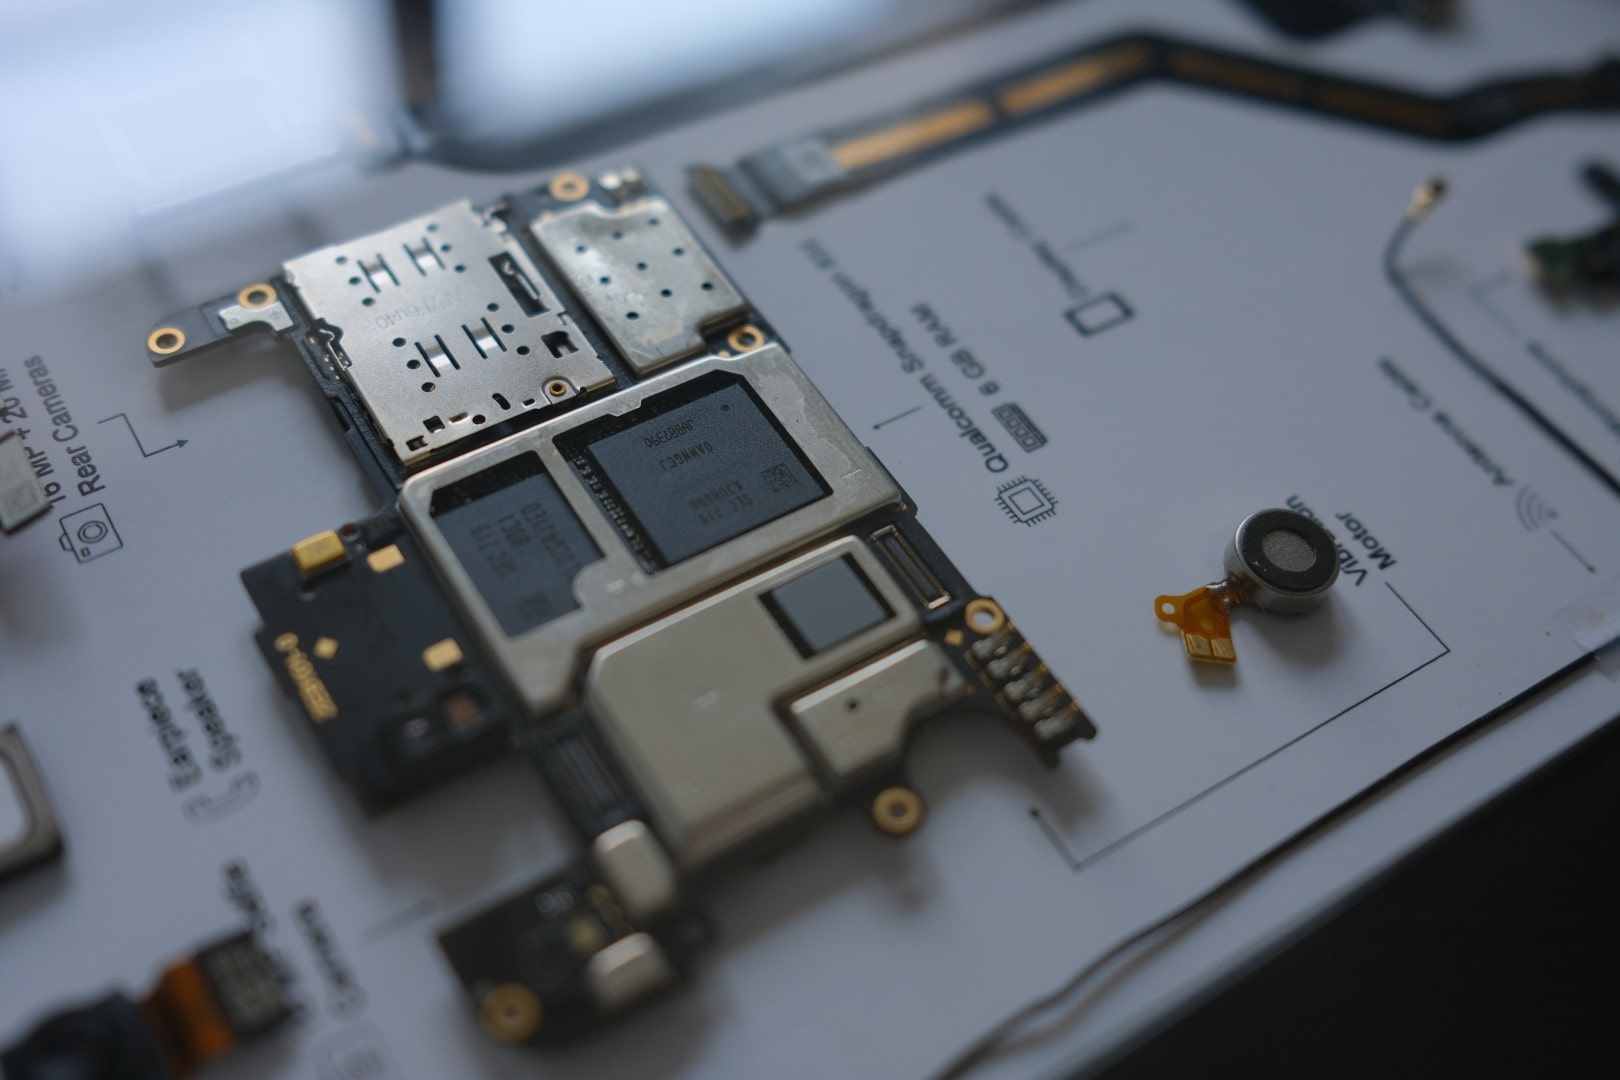
Pulling direct inspiration and using the template from @Toasted_Taco on his blog post, I made this template (8.5×11″ or 215.9 by 279.4 mm) which is similar to the standard A4 paper used by most other countries.
Then I photographed my phone on paper the same size as the template, then cropped the different parts to place them on the template in PowerPoint and see how everything fits.
I printed the template into 8.5×11″ on two types of paper stock:
- Executive (White 32lb • Smooth, thicker weight)
- White Cardstock (110lb Index • Heavyweight • Smooth uncoated finish).
I ended up using the “Executive” paper type, the smoothness was better in my opinion. But, you do you, bobo.
You can get the template I made for the OnePlus 5 here.
IMPORTANT! VERY IMPORTANT!
Batteries heat up and can Explode! You can’t keep them as art. You have to get rid of them the right way.
Here in New York, we have an NGO recycling program with dropoff locations and places to properly dispose of all kinds of batteries.
I used their locator, found a dropoff point, and dropped my phone’s battery (Yay me!).
So, check what your city/country is doing about this and do the right thing. Thanks, @Toasted_Taco for the reminder.
04.
THE ASSEMBLY
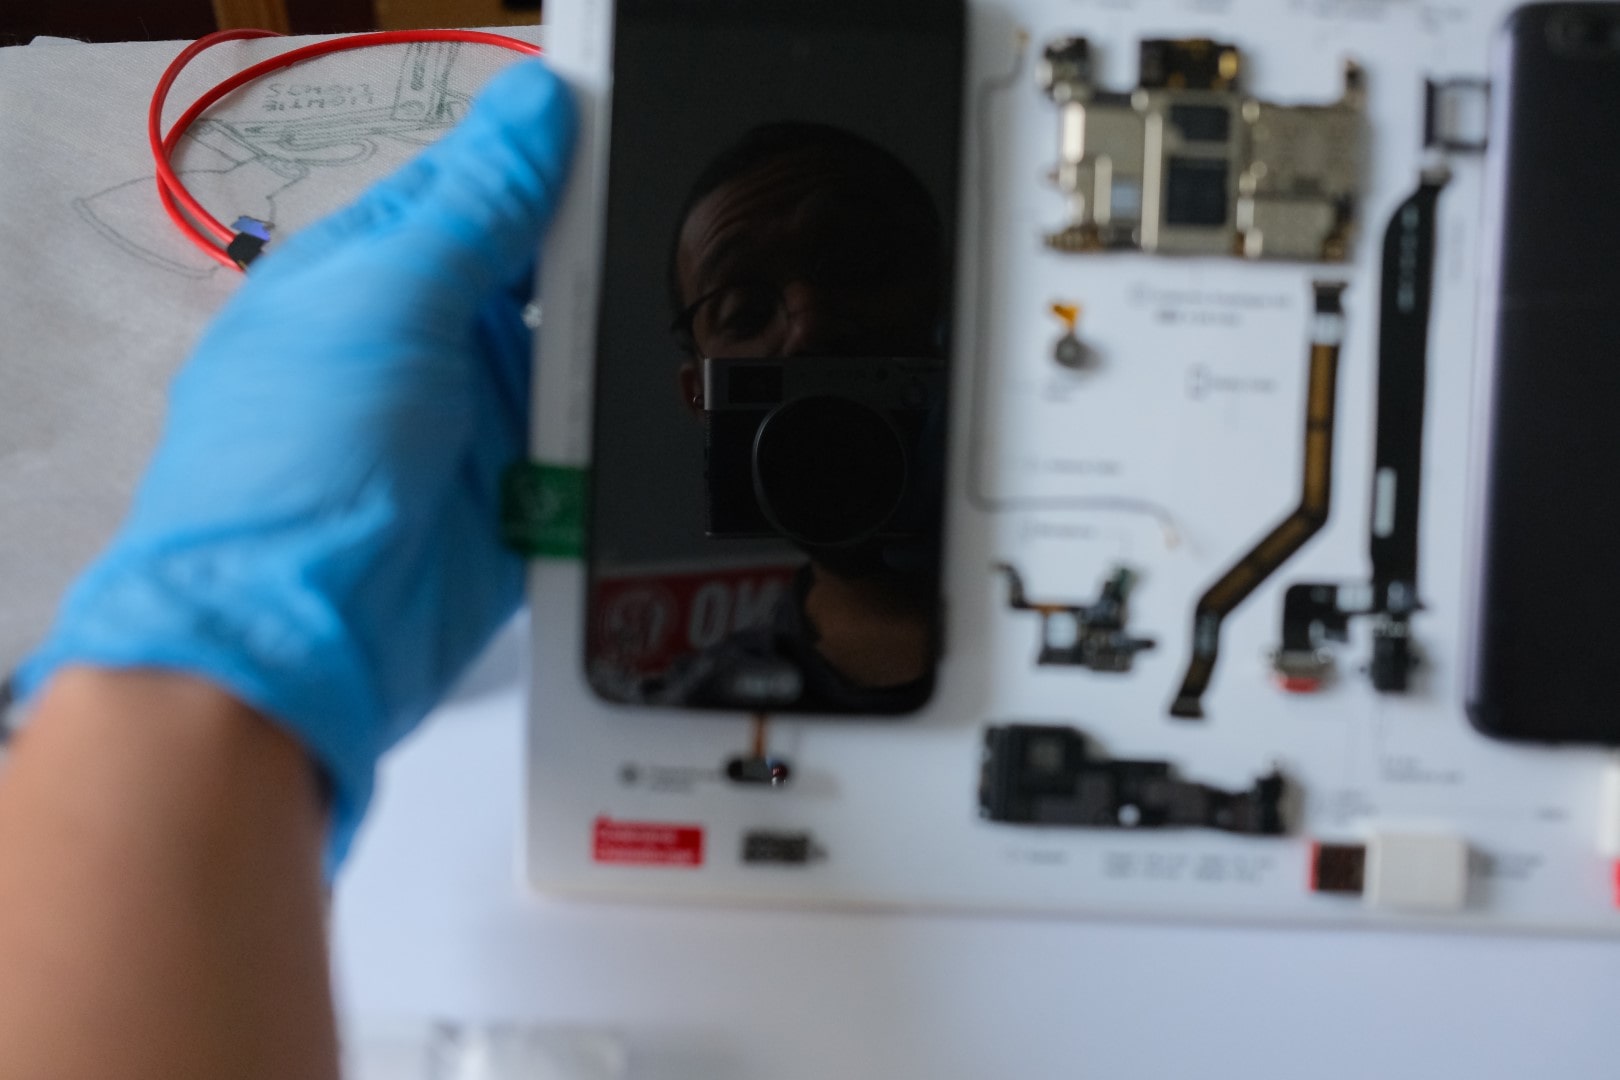
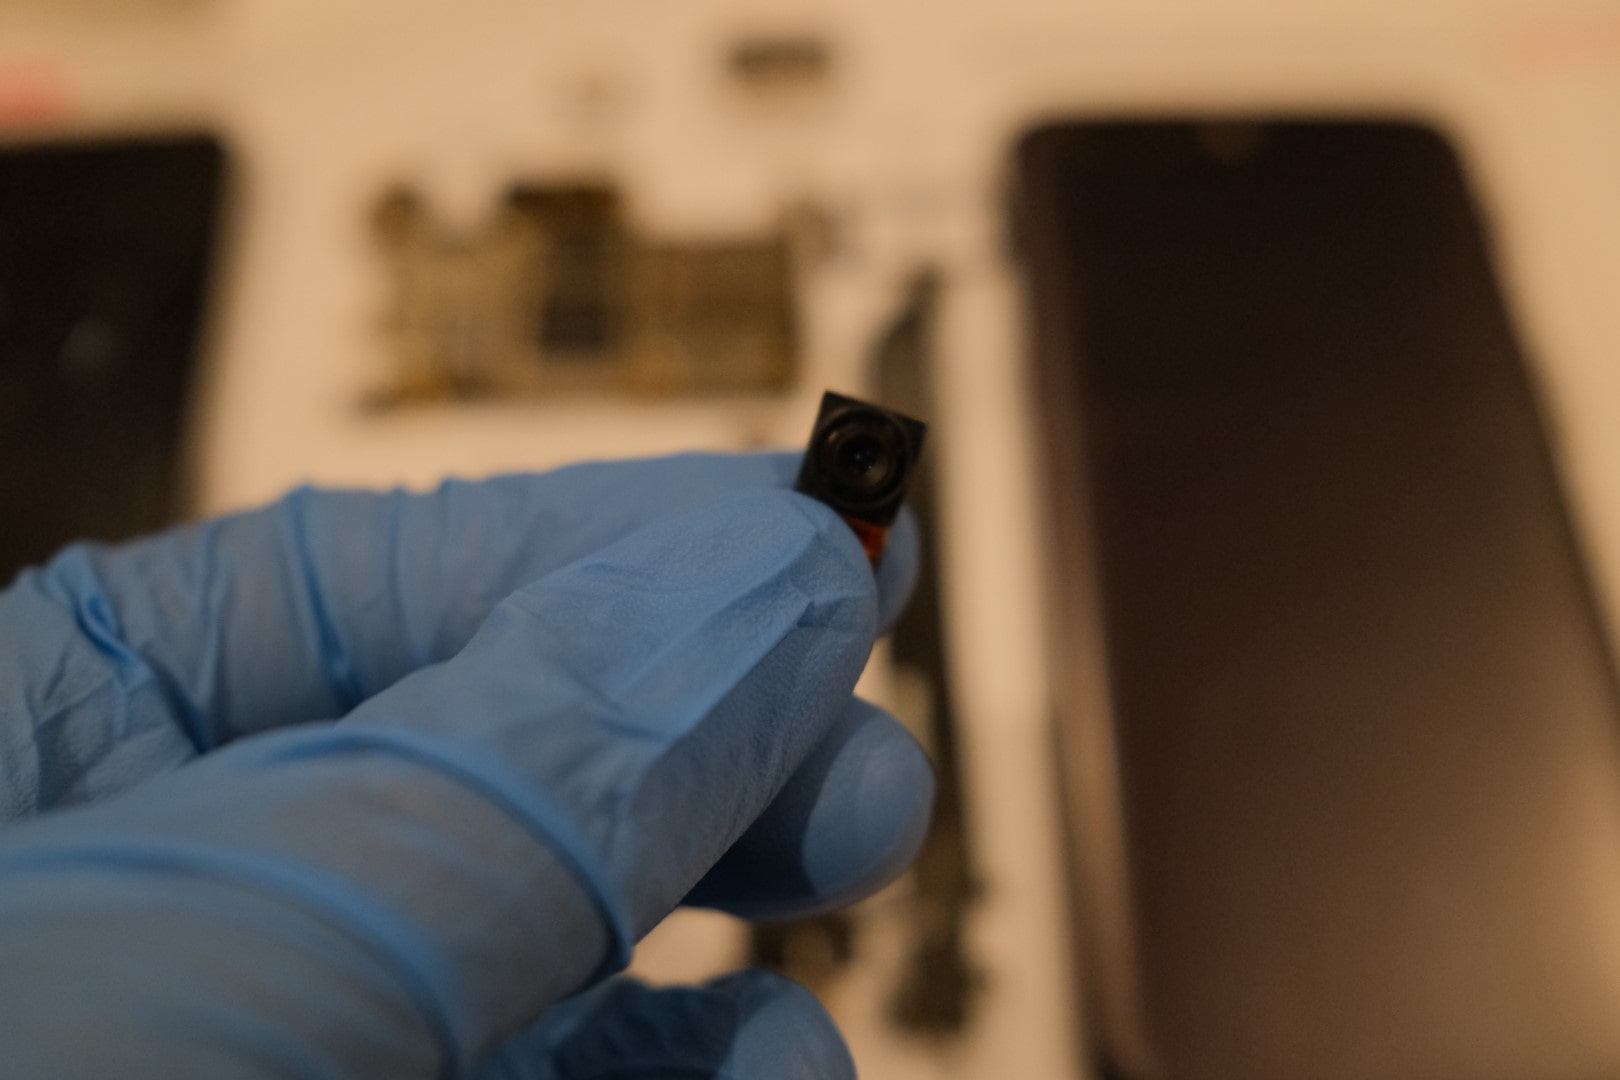
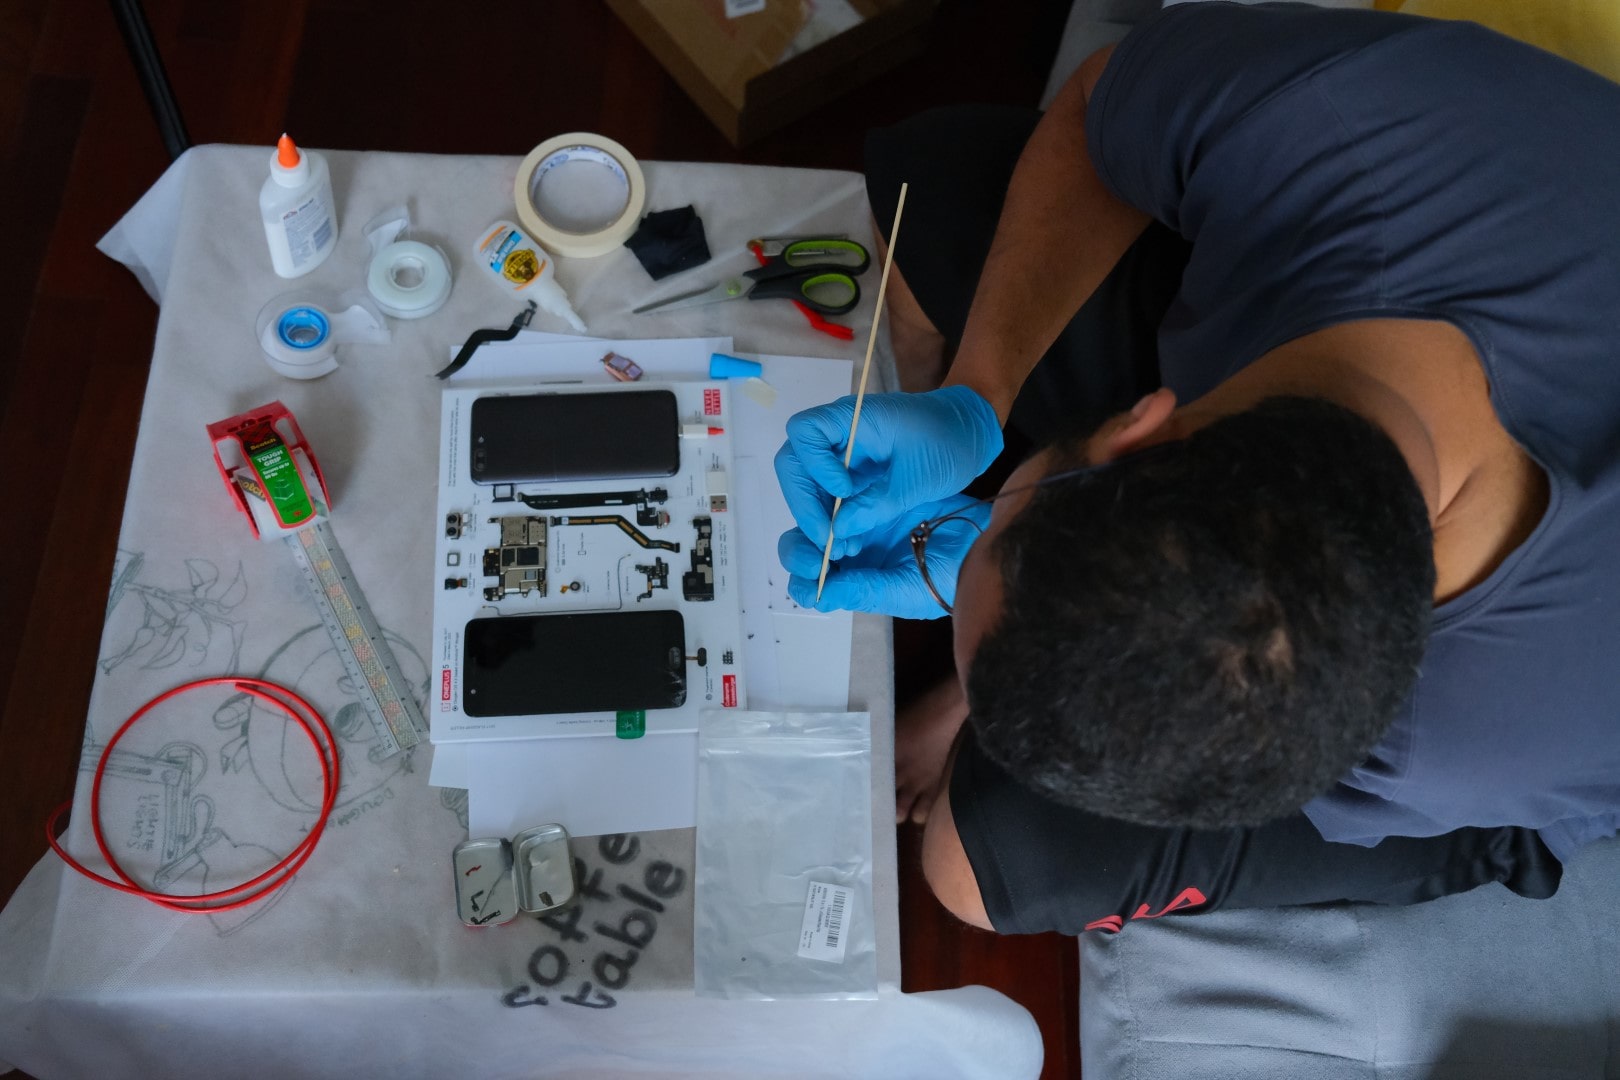
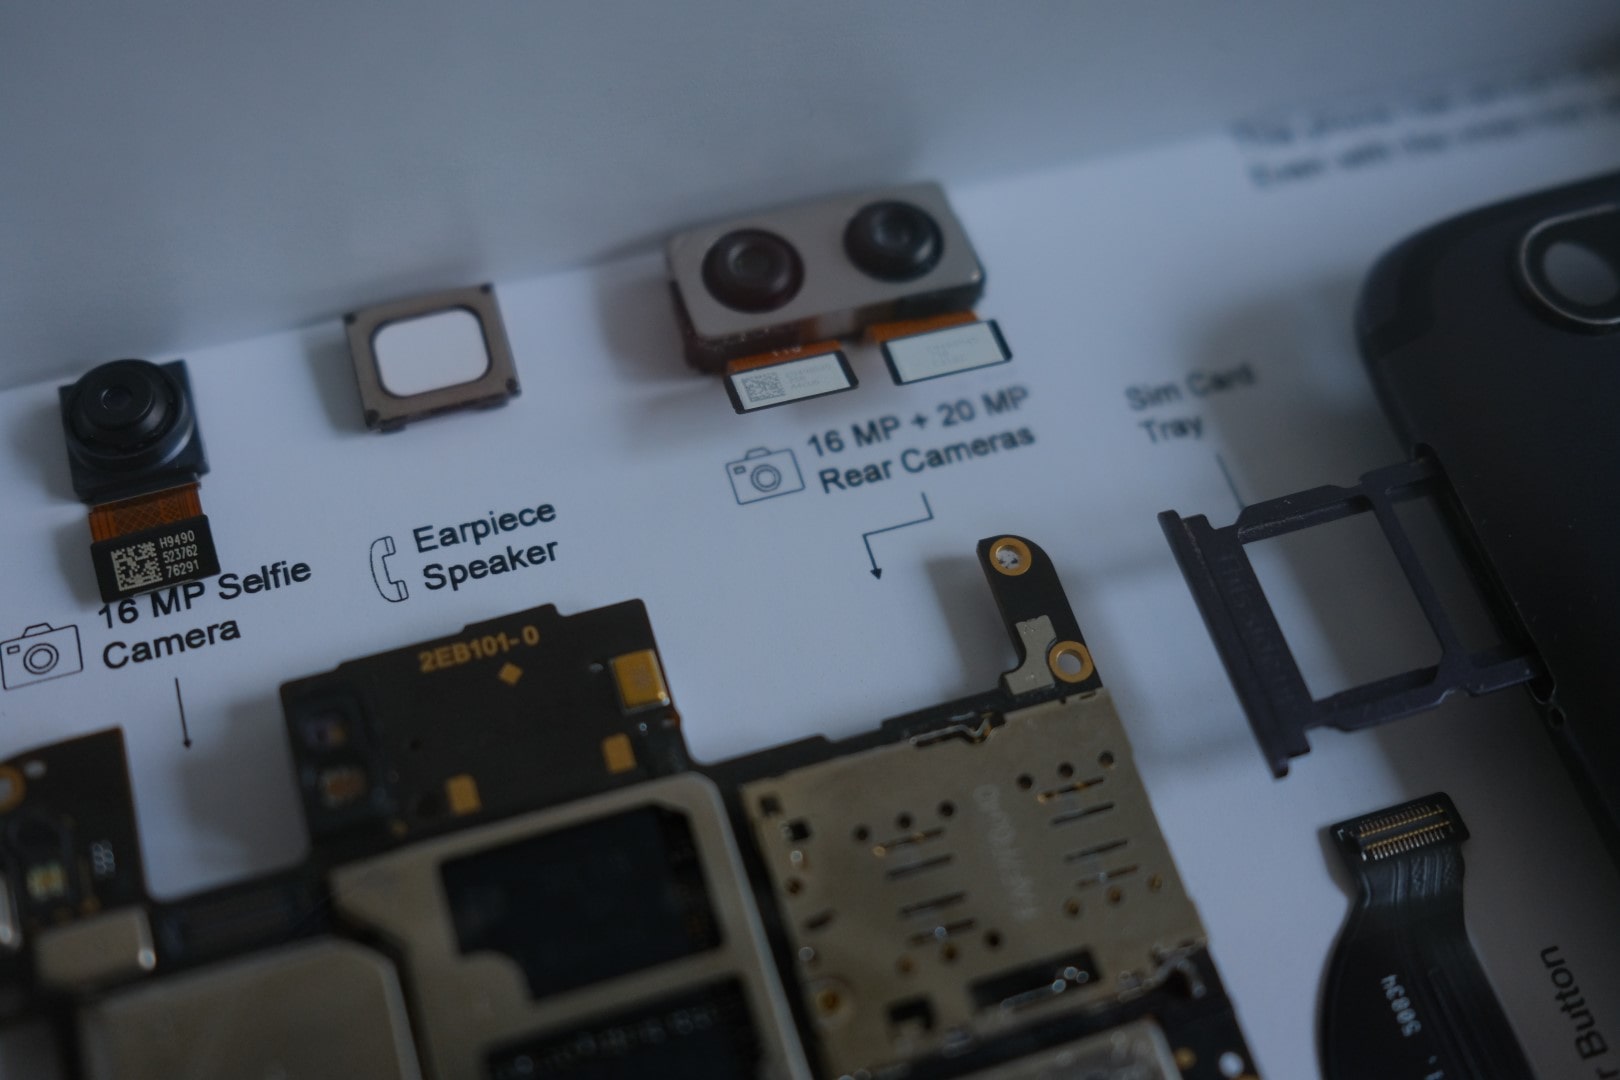
This is the “fun” part. I really had a Blast assembling the OnePlus parts into the backdrop!
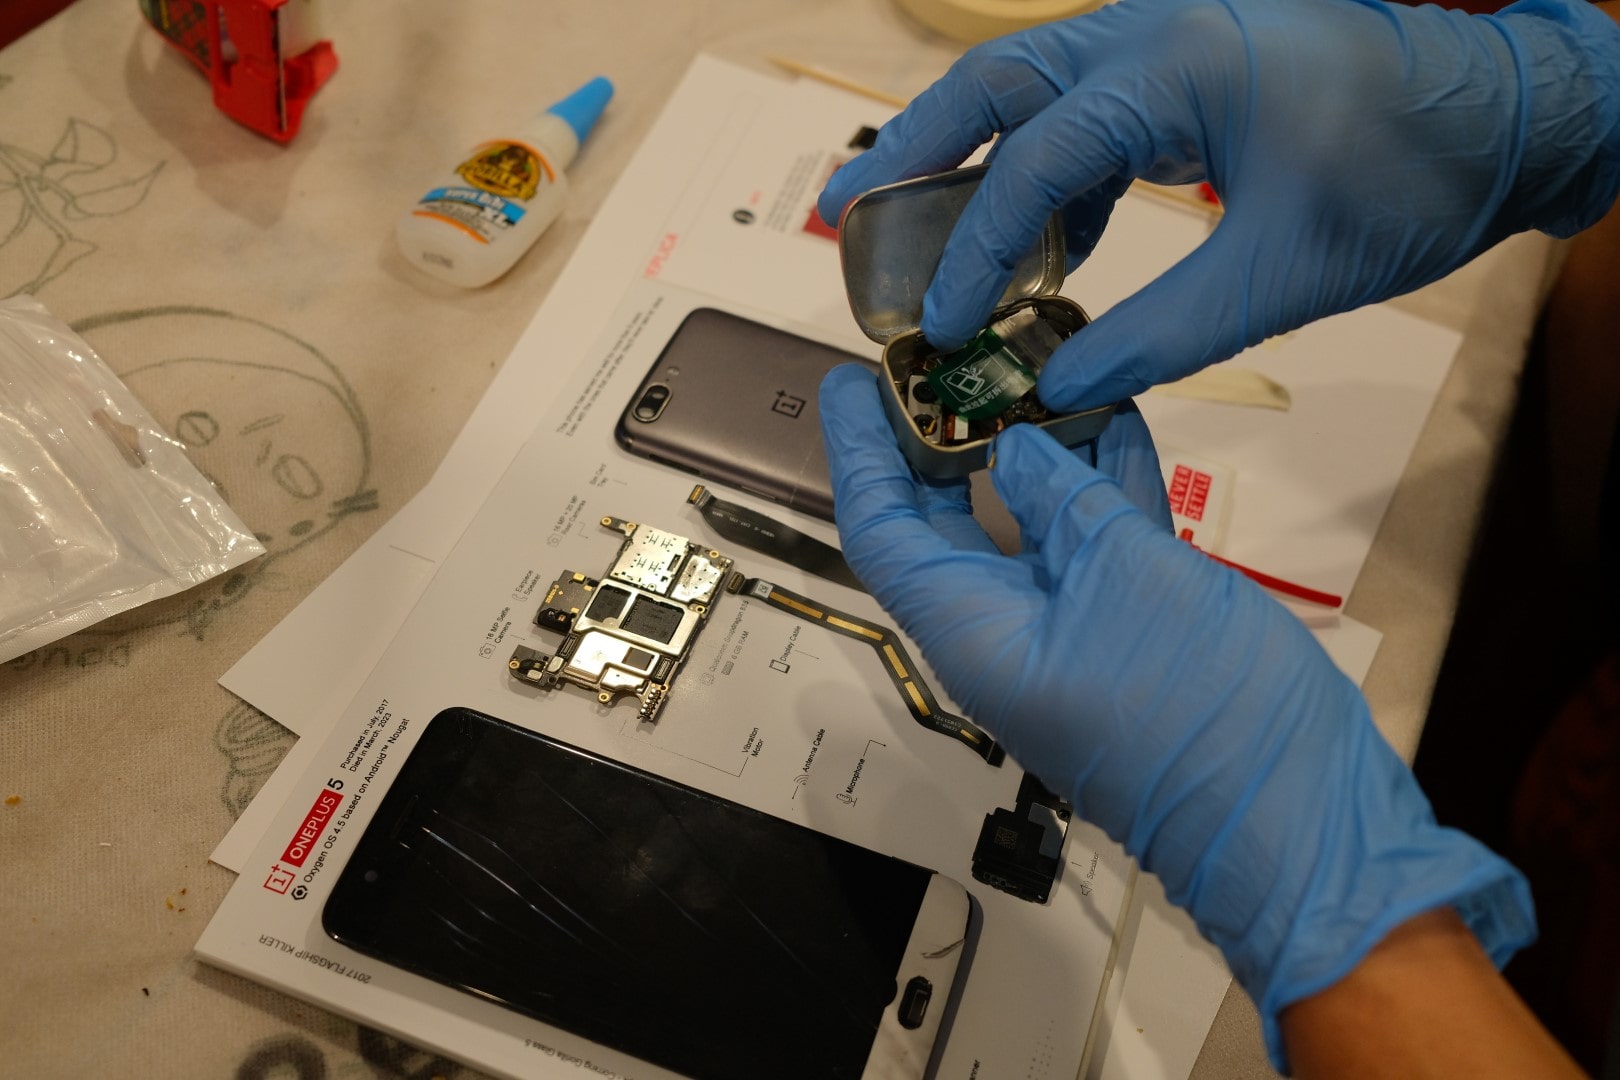
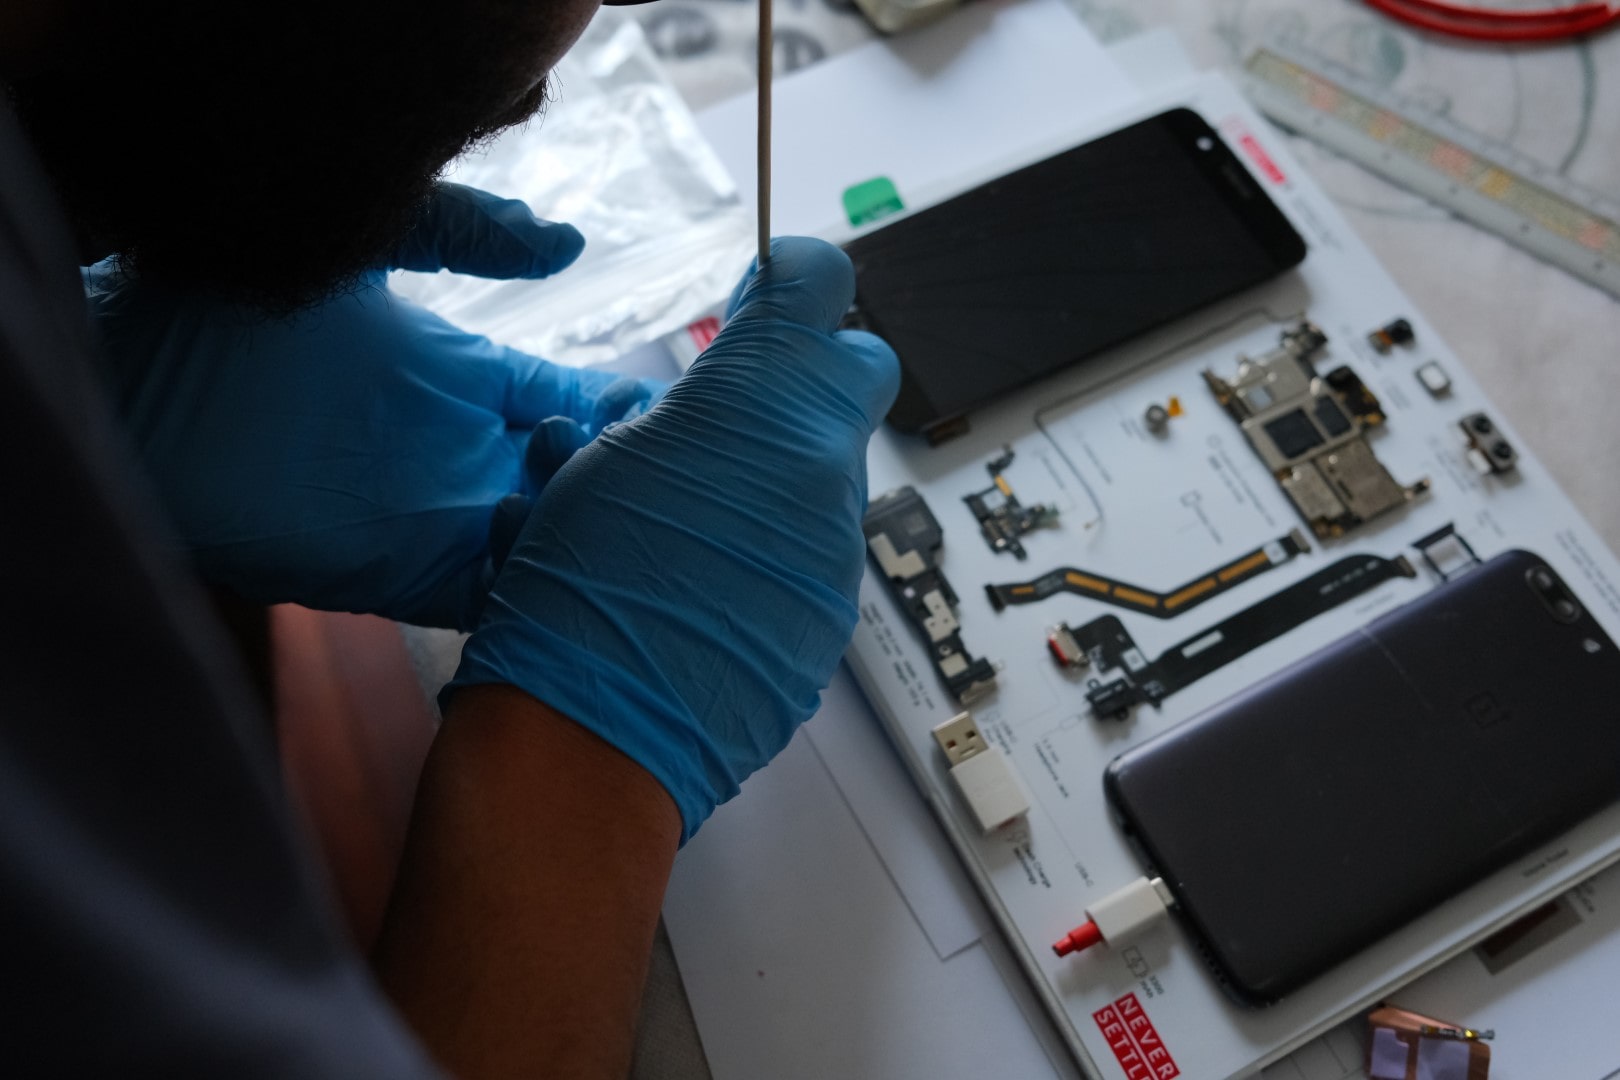
I used double-sided tape to stick the parts to the paper (that was a mistake).
Everything fell down once I tilted the paper upwards! Since the metal back and the screen were too heavy for the tape to hold. So, I ended up using Gorilla Super Glue which held up nicely and kept everything in its place.
IMPORTANT! YES, AGAIN!
Always use gloves. You won’t like super glue on your hands, trust me!
Also, gloves keep the phone parts & backdrop clean. You won’t like it when you notice smudges later on.
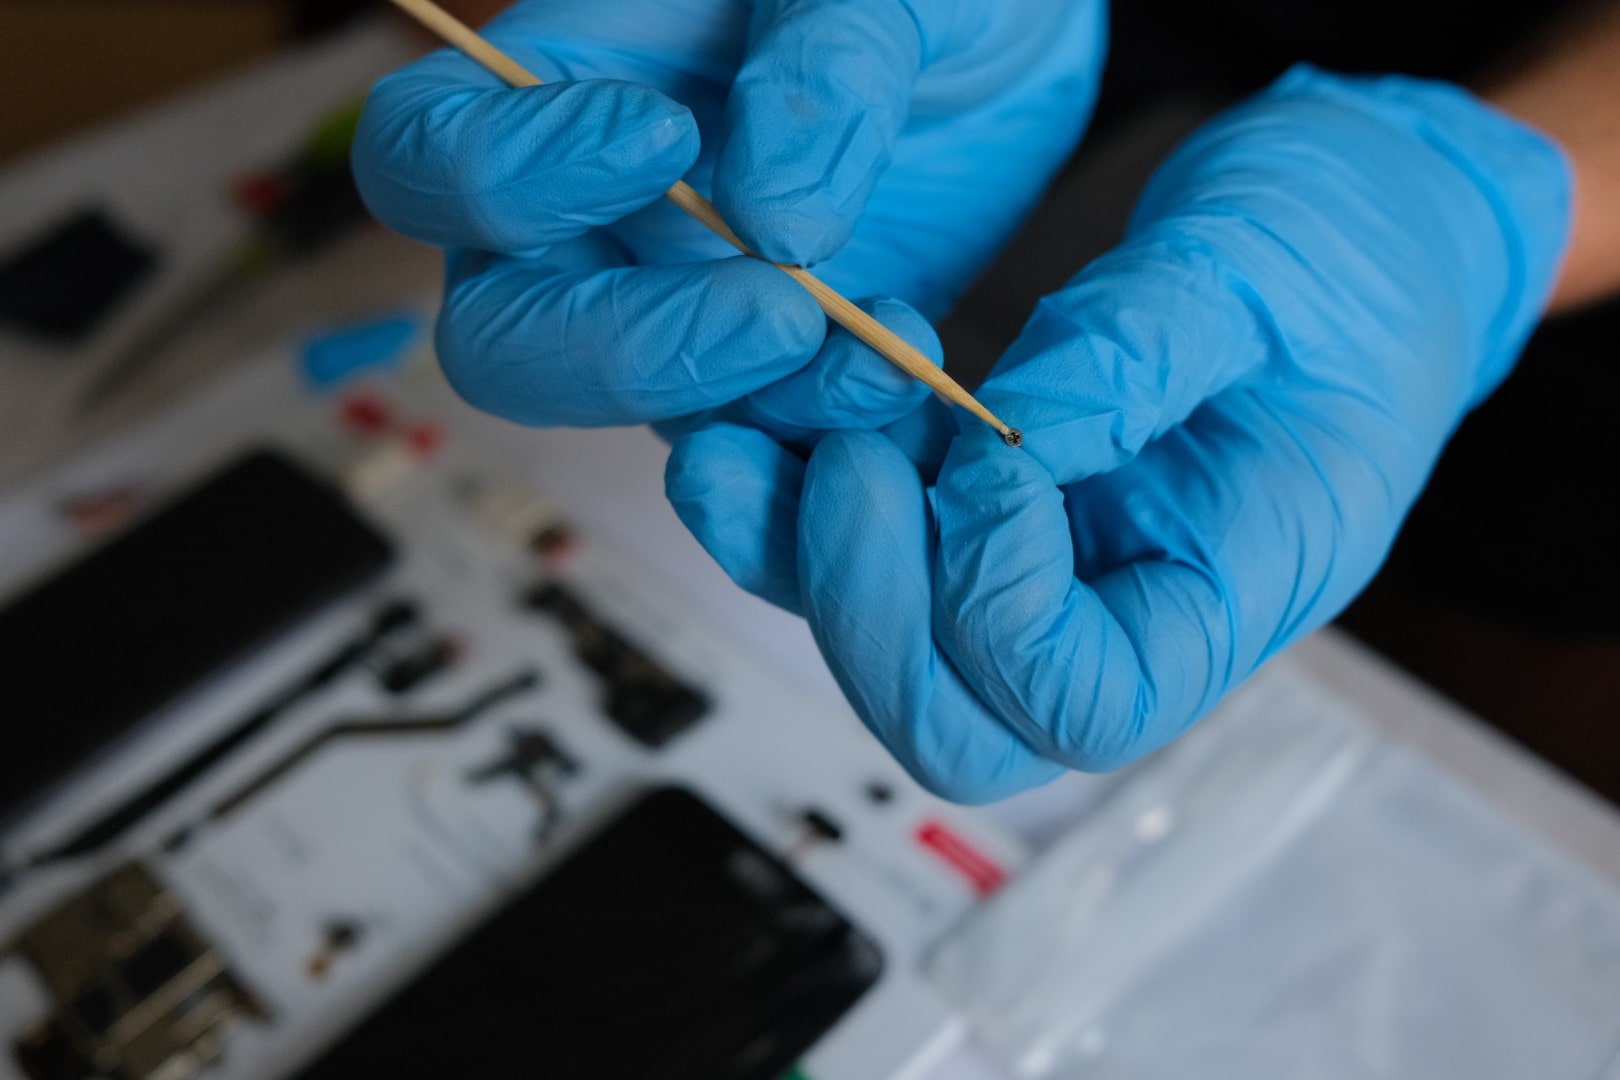
Use a wooden skewer to place super glue on screws & the smaller parts.
I wish I had tweezers to place screws on paper, it was on HARD MODE doing it by hand.
05.
THE FRAMING
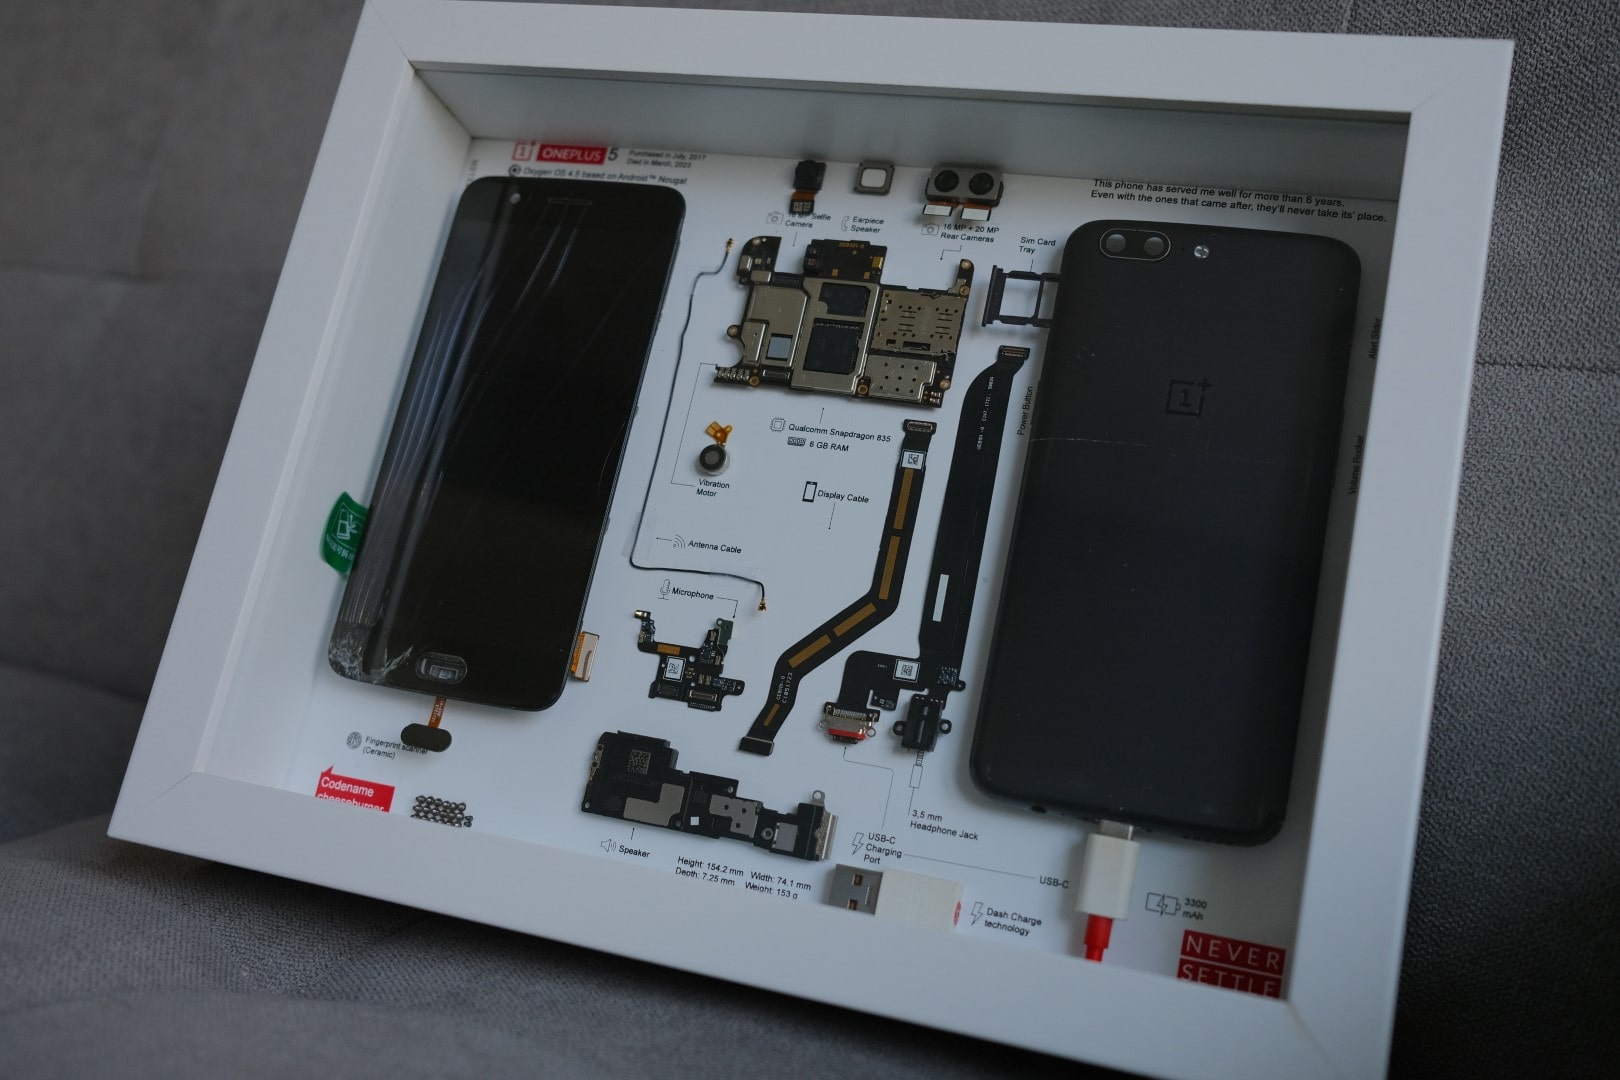
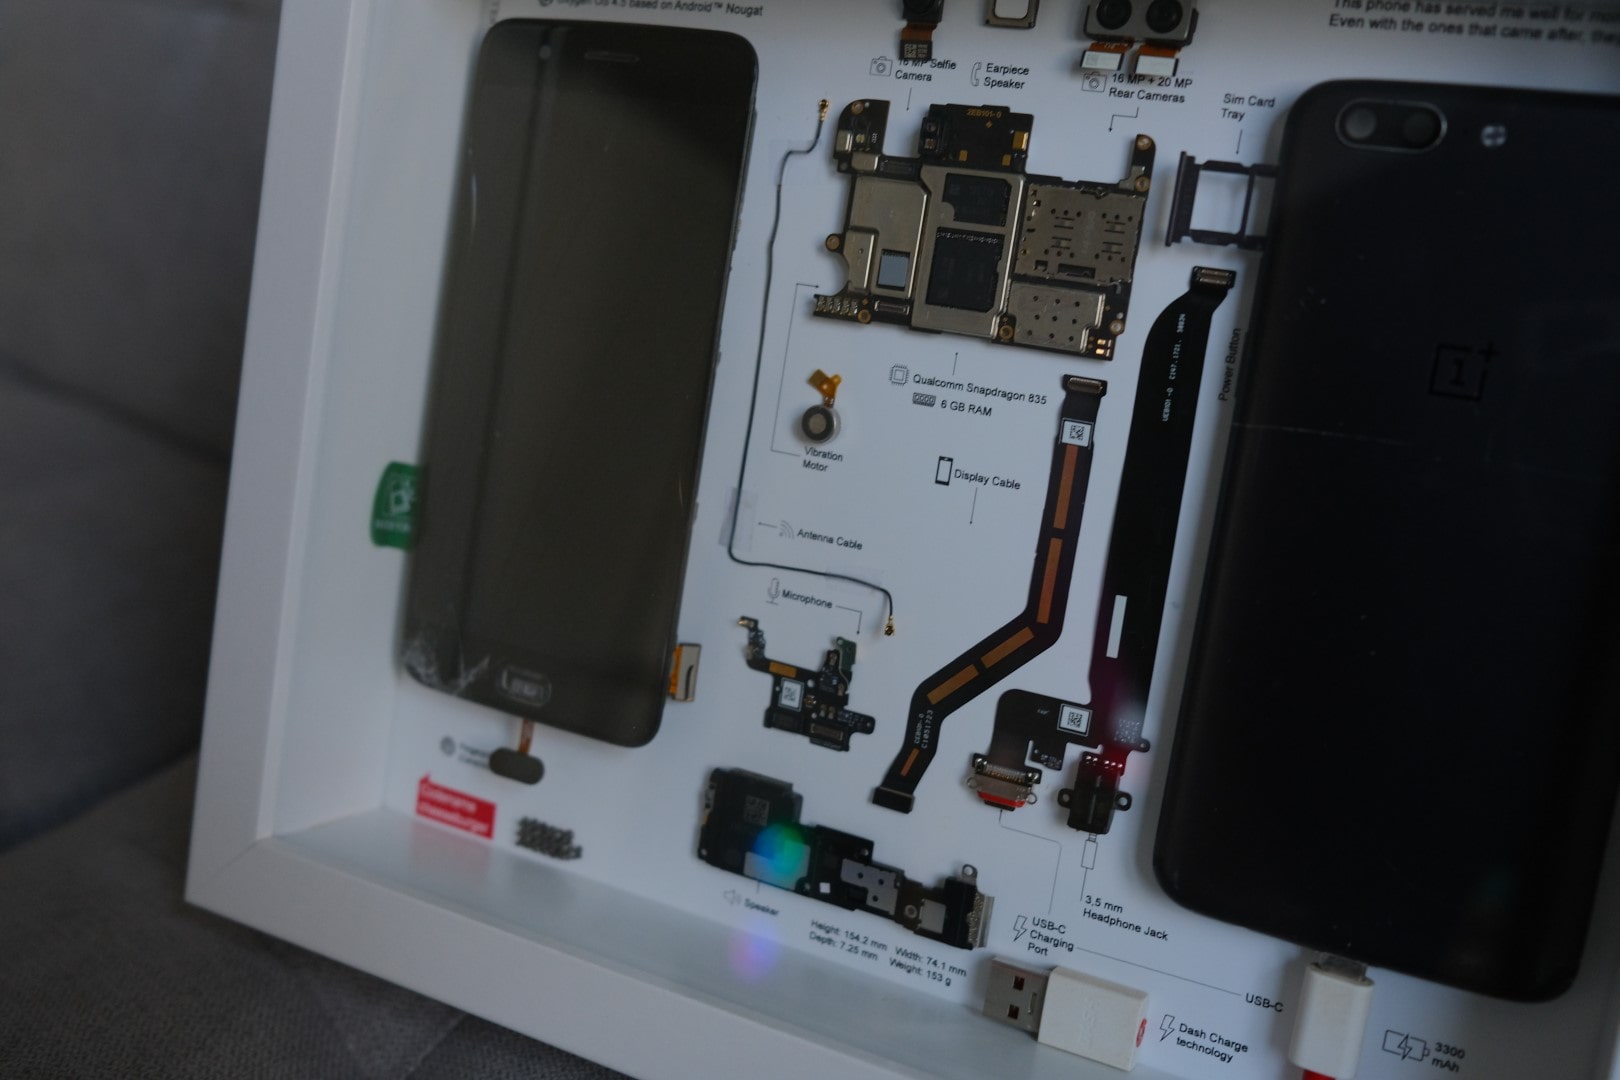
For this, you’ll need a Shadow Box Frame that’s the same size as your printed template (8.5×11″ for me).
I had one issue with this, the Amazon description for the product was a bit wrong. the dimensions inside the shadow box were off and my print was off, so I had to reorganize the template and reprint everything to make it fit, and yet it was OFF!
The print bearly fits the frame and everything is so close to the edges, but I am fine with it.
Voilá! We are done!
After framing, clean your piece of art, take a lot of photos, and maybe make a blog post about it (hehe).
Share your work (DM your work me on Instagram if you do). Good luck!

